Chilaquiles (Breakfast Nachos!)

Chilaquiles | My Engineered Nutrition

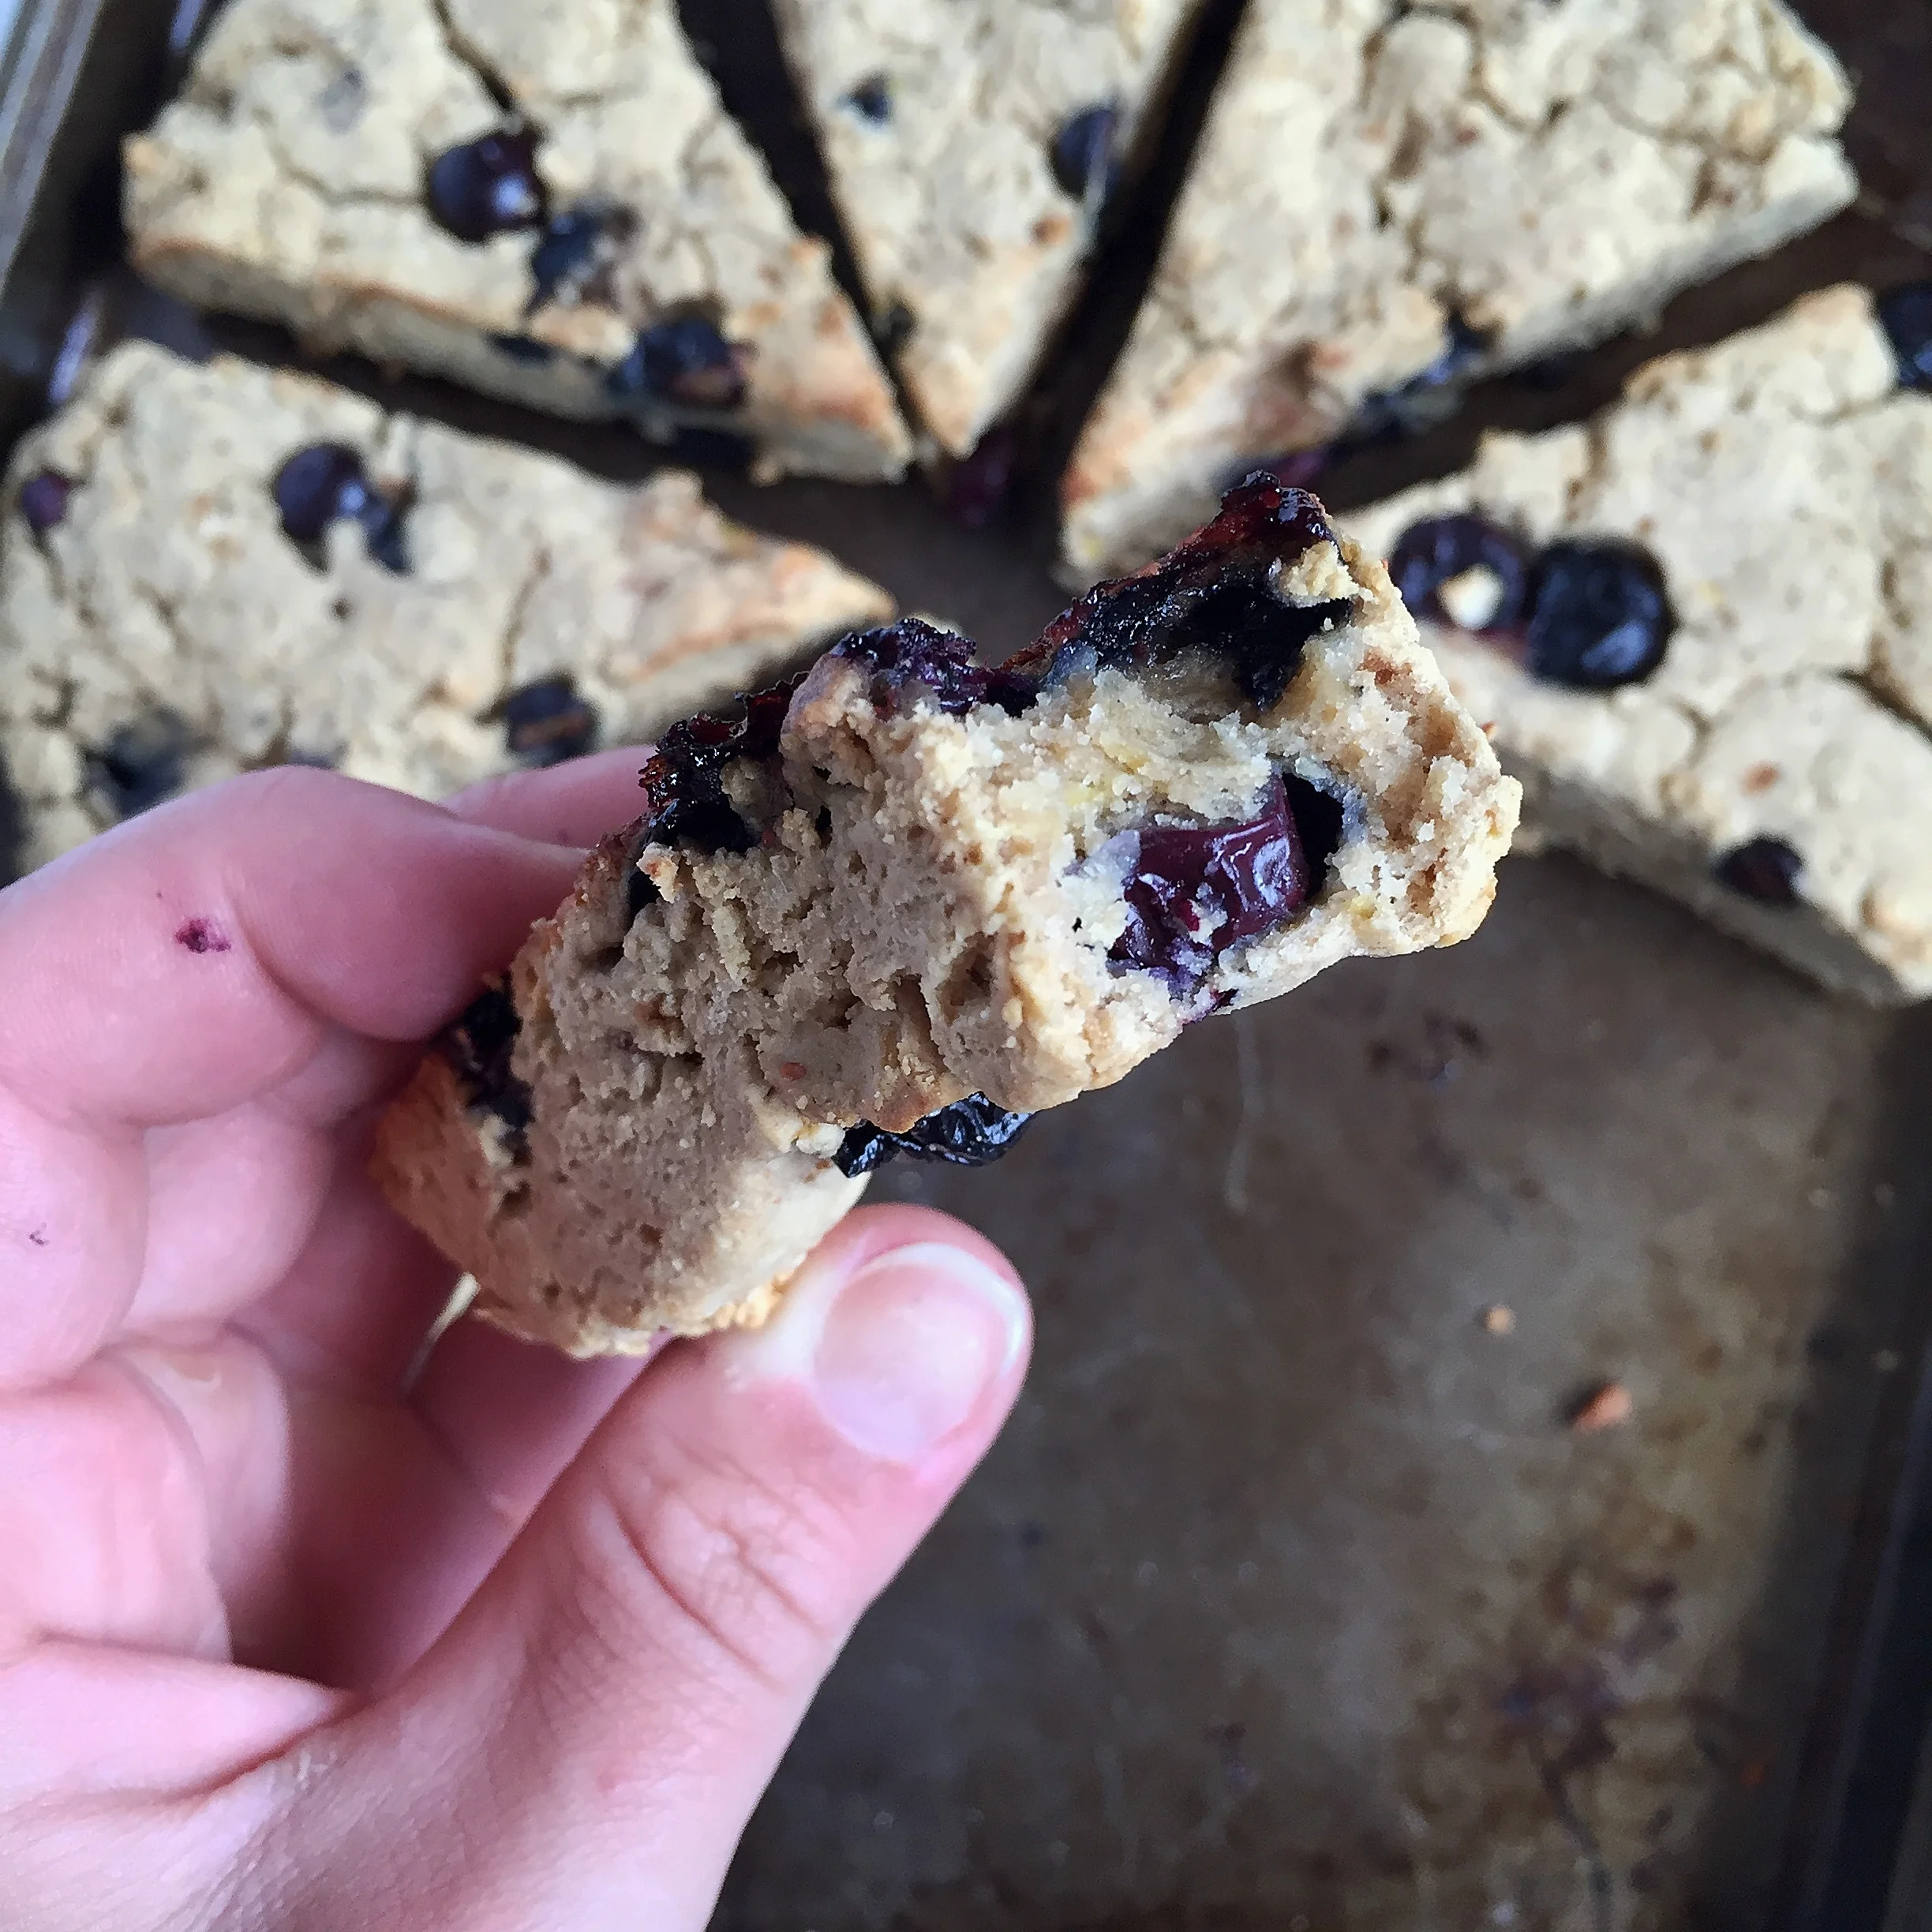
Chilaquiles (tchee/lah/KEE/lehs) is a traditional Mexican dish that you may have never had...or even ever heard of. At least I had never heard of this dish until moving to California, at which point my tastebuds REJOICED over the amazing explosion of flavors in my mouth while eating (inhaling) this dish. Essentially, chilaquiles are breakfast nachos - but really, so much more than that. 

Chilaquiles | My Engineered Nutrition

My favorite part of eating nachos is finding those chips that are semi-buried in the pile. You know the ones I'm talking about, they are still crispy yet somewhat soggy from being baked with all that amazingness on top, and always have the perfect balance of toppings on it. Well basically chilaquiles is a plate full of the PERFECT nachos. For breakfast. I mean, what more could a girl want out of life?

I've tried my best to lighten this dish up as much as I could without losing the critical flavors and components of the dish except for one aspect - the light fried (gasp!) tortilla chips which make the base of this dish. These lightly fried tortillas are then smothered and simmers in chile verde salsa.

Chilaquiles | My Engineered Nutrition

After the base is complete, all that is left is to top these are topped with eggs, chorizo, black beans, red onion, queso fresco, guacamole and cilantro! Like I said previously, I tried to make this dish lighter than the traditional. I am using turkey chorizo instead of full fat pork chorizo, as well as substituting egg whites in place of full eggs.

Breakfast (er..more like brunch) is served!

Chilaquiles | My Engineered Nutrition

Chilaquiles

Servings: 4

Prep Time: 20 minutes

Ingredients:

  • 8 corn tortillas, cut into 6 triangles each
  • 2 cups salsa verde, I use HERDEZ
  • 1/4 cup vegetable oil (for frying, not all will be used)
  • 2 eggs
  • 2 egg whites
  • 1 tbsp butter
  • 8 oz turkey chorizo
  • 1 cup black beans, canned
  • 4 oz queso fresco, crumbled
  • 1/2 cup guacamole, recipe previously posted!

For garnish:

  • Red onion, chopped
  • Cilantro, chopped
  • Jalapeños 

Directions:

  1. Start by preparing the tortillas. Cut the tortillas into 6 equal pieces. In a large skillet, heat oil over medium high heat. Layer paper towels on cookie sheets or a large cutting board. Lightly fry the tortillas in batches - make sure you do not let the chips get too brown. This should take more more than a minute or so each side. We want the chips to be crispy, but not completely browned. Remove from oil and arrange in a single layer on paper towels so that excess oil can be drained. Continue frying remaining tortillas in batches. Once all chips are lightly fried, set the skillet and oil aside to cool.
  2. In a nonstick skillet cook the turkey chorizo. Transfer from pan to a small bowl, set aside and cover to keep warm.
  3. In a separate bowl scramble the eggs and egg whites together. Melt butter over medium high heat in same pan as used for the chorizo, pour in eggs. Scramble, set aside and cover to keep warm.
  4. Next, prepare the guacamole by following my recipe here.
  5. All that remains is to warm the beans in a small saucepan over medium heat, crumble the queso fresco and chop the onion, cilantro and jalapeños.
  6. Drain oil used for frying chips from skillet and pour salsa verde into skillet and bring to a low boil over medium high heat. Add tortillas and toss in salsa. Allow to cook for 2-3 minutes so that chips are completely smothered in salsa. 
  7. For plating: divide tortillas evenly among 4 plates (12 tortilla chips per plate) and top with any remaining salsa verde. Next, top the tortillas with the chorizo, eggs and black beans evenly among plates. Sprinkle queso fresco, red onions, cilantro and jalapeños and finish each plate off with a dollop of guacamole. Serve immediately while its hot!
Posted on September 11, 2016 and filed under Recipes, Breakfast.

Blueberry Lemon Protein Scones

Blueberry Lemon Protein Scones | My Engineered Nutrition

Breakfast pastries are usually synonymous with high fat and loads of sugar.

But dang it...don't they always look so enticing behind that glass case in the coffee shop?! Sometimes you just want that sweet treat with your cup of coffee - hold the 10 lbs of sugar.

Blueberry Lemon Protein Scones | My Engineered Nutrition

These Blueberry Lemon Protein Scones are the perfect alternative to feed your cravings for breakfast pastries! Bursting with lemon and fresh blueberries, I bet these will rival any scones you'll find in your local coffee shop.

Blueberry Lemon Protein Scone | My Engineered Nutrition

One of my absolute favorite flavors of protein powder recently has been the Lemon Cake Pea Protein from True Nutrition. I'd been trying to come up with a good recipe to use it in and these scones seemed like the perfect match. Plus, you can't go wrong with freshly zested lemons and juicy blueberries!

Blueberry Lemon Protein Scones | My Engineered Nutrition

Blueberry Lemon Protein Scones

Prep Time: 15 minutes

Bake Time: 17-20 minutes

Servings: 8 scones

Ingredients: 

  • 3/4 cup Lemon Cake Pea Protein (3 scoops) ** Any lemon flavored or vanilla flavored pea protein would work here as well!
  • 1-1/4 cup gluten free flour blend (I use Bob's 1-to-1)
  • 1/2 tsp baking soda
  • 1 tbsp baking powder
  • 1/2 tsp salt
  • 2 tbsp coconut palm sugar
  • 2 tbsp melt butter
  • 1/2 c Greek yogurt, nonfat 
  • 1/2 c + 2 tbsp non-dairy milk (cashew, almond, soy, etc)
  • 1 tsp vanilla
  • 2 tbsp lemon zest
  • 1 c fresh blueberries

Baking Accessories:

  • Baking Sheet
  • Parchment Paper 

Directions:

  1. Preheat oven to 400°F. Prepare baking sheet by lining with parchment paper. 
  2. In a mixing bowl combine your dry ingredients: pea protein, flour, salt, baking soda, baking powder and coconut palm sugar, whisking to combine.
  3. In a separate bowl combine all remaining ingredients, except for the blueberries. Stir to combine. Add wet ingredients to dry ingredients and mix until a dough is formed. Fold the blueberries into the dough gently, ensuring the blueberries are mixed evenly throughout.
  4. Form the dough into a round disk, about 10" in diameter, on your parchment paper lined baking sheet. Slice into 8 equal parts and separate slightly before baking. 
  5. Place in oven to bake for 17-20 minutes. Test the scones by inserting a toothpick into the center - they are baked completely when it comes out clean. Serve immediately or allow to cool completely and store in an air tight container for later.

Nutritional Information (1 scone):

175 calories - 12 g Protein, 24 g Carbohydrates, 3.5 g Fat


Posted on September 2, 2016 and filed under Recipes, Protein Powder, Baking, Breakfast.

Mom's Caesar Salad

Caesar Salad | My Engineered Nutrition

If you've followed me since the beginning of My Engineered Nutrition, then you know I have my fair share of family recipes. When you grow up following your mom and grandmother around the kitchen before you can even reach the counter, it's pretty inevitable that certain recipes will become so familiar you can almost taste them at their very mention.

If I had to trademark my mom with two recipes it would be her French bread and her Caesar salad.

Caesar Salad | My Engineered Nutrition

Without a doubt, every dinner party, big gathering or special occasion my mom would bake her famous French bread (and then proceed to burn it while toasting 9 times out of 10 hehehe) and make her Caesar salad, always in the same large wooden salad bowl.

Ahem...Mom, if you're reading this - I would like to claim said wooden bowl in your will :) 

This salad is so simple (but oh-so delicious) and can quite possibly accompany any meal - it's THAT good. This is a much lighter Caesar salad than what you are used to, which is why I love it. It has such a bright flavor thanks to all the lemon juice, making it especially great for a summer salad! Pssst, remembered those Parmesan Garlic Croutons I post a couple months back? Those are GREAT which this salad!

Caesar Salad | My Engineered Nutrition

Mom's Caesar Salad

Prep Time: 10 minutes

Servings: 4

Ingredients: 

Caesar Dressing (makes about 1/2 cup dressing)

  • 4 cloves garlic, minced
  • 1/4 tsp salt
  • 2 tsp Dijon mustard
  • 3 lemons, juiced
  • 2 tbsp extra virgin olive oil

For the salad:

Directions:

  1. In your large mixing bowl combine garlic and salt. With the back of a spoon, mash the garlic with the salt to make a paste. Add Dijon and lemon juice and whisk together. Slowly drizzle olive oil into bowl while whisking. (Alternatively, you can make this dressing in a small separate bowl or jar, prior to tossing with lettuce.)
  2. Add romaine lettuce to mixing bowl and toss to cover in dressing. Sprinkle with Parmesan cheese and divide salad between 4 plates. Finish with toasted Gluten Free Parmesan Garlic Croutons.

Nutritional Information (1 serving, does not include croutons or parmesan):

80 calories - 1 g Protein, 4 g Carbohydrates, 7 g Fat

Posted on July 29, 2016 and filed under Vegetables/Sides, Recipes.

Low Carb Protein Biscuits

Low Carb Protein Biscuits | My Engineered Nutrition

In the time since I've started creating recipes with protein powders, I've experimented with a wide variety of different powder types. While each powder yielding a slightly different end product, but one constant remained: they were all sweet baked goods. This isn't really a surprise, however, given that most of the time you think of flavored powders, which have also been sweetened.

The beauty of baking with protein powder is the ability to substitute a flour with protein powder, sometimes significantly reducing the carbohydrates in a given recipe. Why should that only be limited to desserts and breakfast items? 

I've been on a mission answer this question by creating a savory protein-packed baked good!

Low Carb Protein Biscuits | My Engineered Nutrition

Not only is this recipe the FIRST of my experiments in the savory, non-sweet realm of baking with protein powder, it is also my first successful recipe attempt using Beef Protein Isolate!

Now, before you go getting skeptical of this recipe because of the fact it uses a protein powder you likely aren't familiar with, let me clear the air - NO, this does not taste like BEEF.

Low Carb Protein Biscuits | My Engineered Nutrition

In fact, I've found that unflavored Beef Protein Isolate is actually quite neutral in taste. This pairs so very nicely with the other main star of these biscuits: coconut flour. I personally love baked goods that use coconut flour - I'm a huge fan of the nutty flavor it brings to the final product. Coconut flour is gluten free, low in carbohydrates and high in fiber! Win win win!

These biscuits seriously couldn't be simpler. I know many times baking can be daunting because of the precise measurements and detailed preparation. Not with these. It is as easy as mixing the wet and dry ingredients together into a dough (Warning: it will be sticky!) and forming said dough into biscuits. That's it! It is important to not the main difference between gluten free baking from baking with a wheat flour: the absence of gluten also means that your baked good won't rise or expand as much (or at all) as you may be used to. Simply put, the shape and size you make your biscuits pre-baking is how they will look post-baking. 

Low Carb Protein Biscuits | My Engineered Nutrition

The nutritional information for each biscuit is so incredible that you will have a hard time not pacing yourself when it comes to eating these! They are high and protein and fiber plus low in carbs and fat. They are great on their own but are also a fantastic option for creating a sandwich and using the biscuit cut in half as a bun.

Here's your solution for wanting to have your [biscuit] and eat it too! 

Low Carb Protein Biscuits | My Engineered Nutrition

Low Carb Protein Biscuits

Prep Time: 10 minutes

Cook Time: 20 minutes

Servings: 4 biscuits

Ingredients: 

  • 1/4 cup Beef Protein Isolate (1 scoop), unflavored
  • 1/2 cup coconut flour 
  • 1 tsp baking powder
  • 1/2 tsp salt
  • 2 eggs
  • 1/4 cup water

Baking Accessories:

  • Baking Sheet
  • Parchment Paper 

Directions:

  1. Preheat oven to 375°F. Prepare baking sheet by lining with parchment paper. 
  2. In a mixing bowl combine your dry ingredients: beef protein, coconut flour, baking powder and salt. Whisk to fully mix ingredients. Add eggs and water to the bowl and whisk until batter is smooth. This can be done in a stand mixer, with an electric hand mixer or by hand with a whisk.
  3. When all is combined, dough will be sticky - don't fret! Form the dough into 4 equal biscuits on your parchment paper lined baking sheet. Because this is a gluten free batter, the biscuits won't rise much from the original shape you form them into. 
  4. Place in oven to bake for 18-20 minutes. Biscuits are done baking when a toothpick inserted into the center of a biscuit comes out clean. Serve immediately or allow to cool completely and store in an air tight container for later.

Special Note: I've created this recipe based upon using Beef Protein Isolate. I have not tried other powder types so I can not guarantee the recipe will turn out the same using a different powder type (i.e. whey, pea, egg, etc.)

Nutritional Information (1 biscuit):

125 calories - 12 g Protein, 8.5 g Carbohydrates (5 g Fiber), 4.5 g Fat

Fluffy Protein Pancakes

Fluffy Protein Pancakes | My Engineered Nutrition

Protein pancakes are usually one of the first recipes health-minded individuals try their hand at when venturing into the world of cooking with protein powder. Seems simple enough right?

Here's the thing - I've never liked eating protein pancakes. They (typically) turn out rubbery, flat or hard. Honestly, I'd rather just have the real deal than a mediocre alternate. 

Until these.

Fluffy Protein Pancakes | My Engineered Nutrition

Here's the thing - in the past, I've made pancakes using whey protein however, not all protein powders are created equal! 

These pancakes (these fluffy, big, fat pancakes) are made using Egg White Protein

BINGO! 

Fluffy Protein Pancakes | My Engineered Nutrition

It makes perfect sense.

Egg white protein powder reacts to heat similarly to the way eggs do when baking. Don't get me wrong, I still love baking with whey protein, but some recipes just work better with different protein powders! Whey protein doesn't seem to like high heat (hence rubbery or hard baked goods that are cooked for too long), but after my first experiment with egg white protein it seems this powder can stand up to the heat much more nicely. I'm excited for my baking experiments with this powder!

If you've never tried Egg White Protein Powder, here is your chance! True Nutrition has a great selection of protein powders and an exceptional Egg White Protein. As an added bonus, use my code 'MYENG' to receive 5% off your order!

Fluffy Protein Pancakes | My Engineered Nutrition

Fluffy Protein Pancakes

Prep Time: 5 minutes

Cook Time: 2 minutes

Servings: 6 pancakes

Ingredients: 

  • 1/2 cup Egg White Protein Powder (2 scoops), unflavored or vanilla
  • 1/2 cup flour (I use 1-to-1 Gluten Free Baking Flour, but regular flour would work as well)
  • 1 tbsp coconut palm sugar
  • 1 1/2 tsp baking powder
  • 1/2 tsp baking soda
  • 1/2 tsp salt
  • 1 tbsp butter, melted
  • 3/4 cup reduced fat milk, 2%
  • Additional butter or oil for making pancakes
  • Optional: Pure maple syrup for serving!

Directions:

  1. In a mixing bowl combine your dry ingredients: whey protein, flour, coconut palm sugar, baking powder, baking soda and salt. Whisk to fully mix ingredients. Add butter and milk to the bowl and whisk until batter is smooth.
  2. Heat a lightly greased griddle or frying pan over medium heat - you don't want the pan too hot that it burns your pancakes! Scoop batter (approximately 1/4 c) onto pan. Cook the first side until you begin to see bubbles form, about 1 minute. Flip and continue to cook until both sides are browned, about another 30-45 seconds. Serve while hot! 

Nutritional Information (1 pancake):

115 calories - 10 g Protein, 13.5 g Carbohydrates, 2.5 g Fat