Protein pancakes are usually one of the first recipes health-minded individuals try their hand at when venturing into the world of cooking with protein powder. Seems simple enough right?
Here's the thing - I've never liked eating protein pancakes. They (typically) turn out rubbery, flat or hard. Honestly, I'd rather just have the real deal than a mediocre alternate.
Until these.

Here's the thing - in the past, I've made pancakes using whey protein however, not all protein powders are created equal!
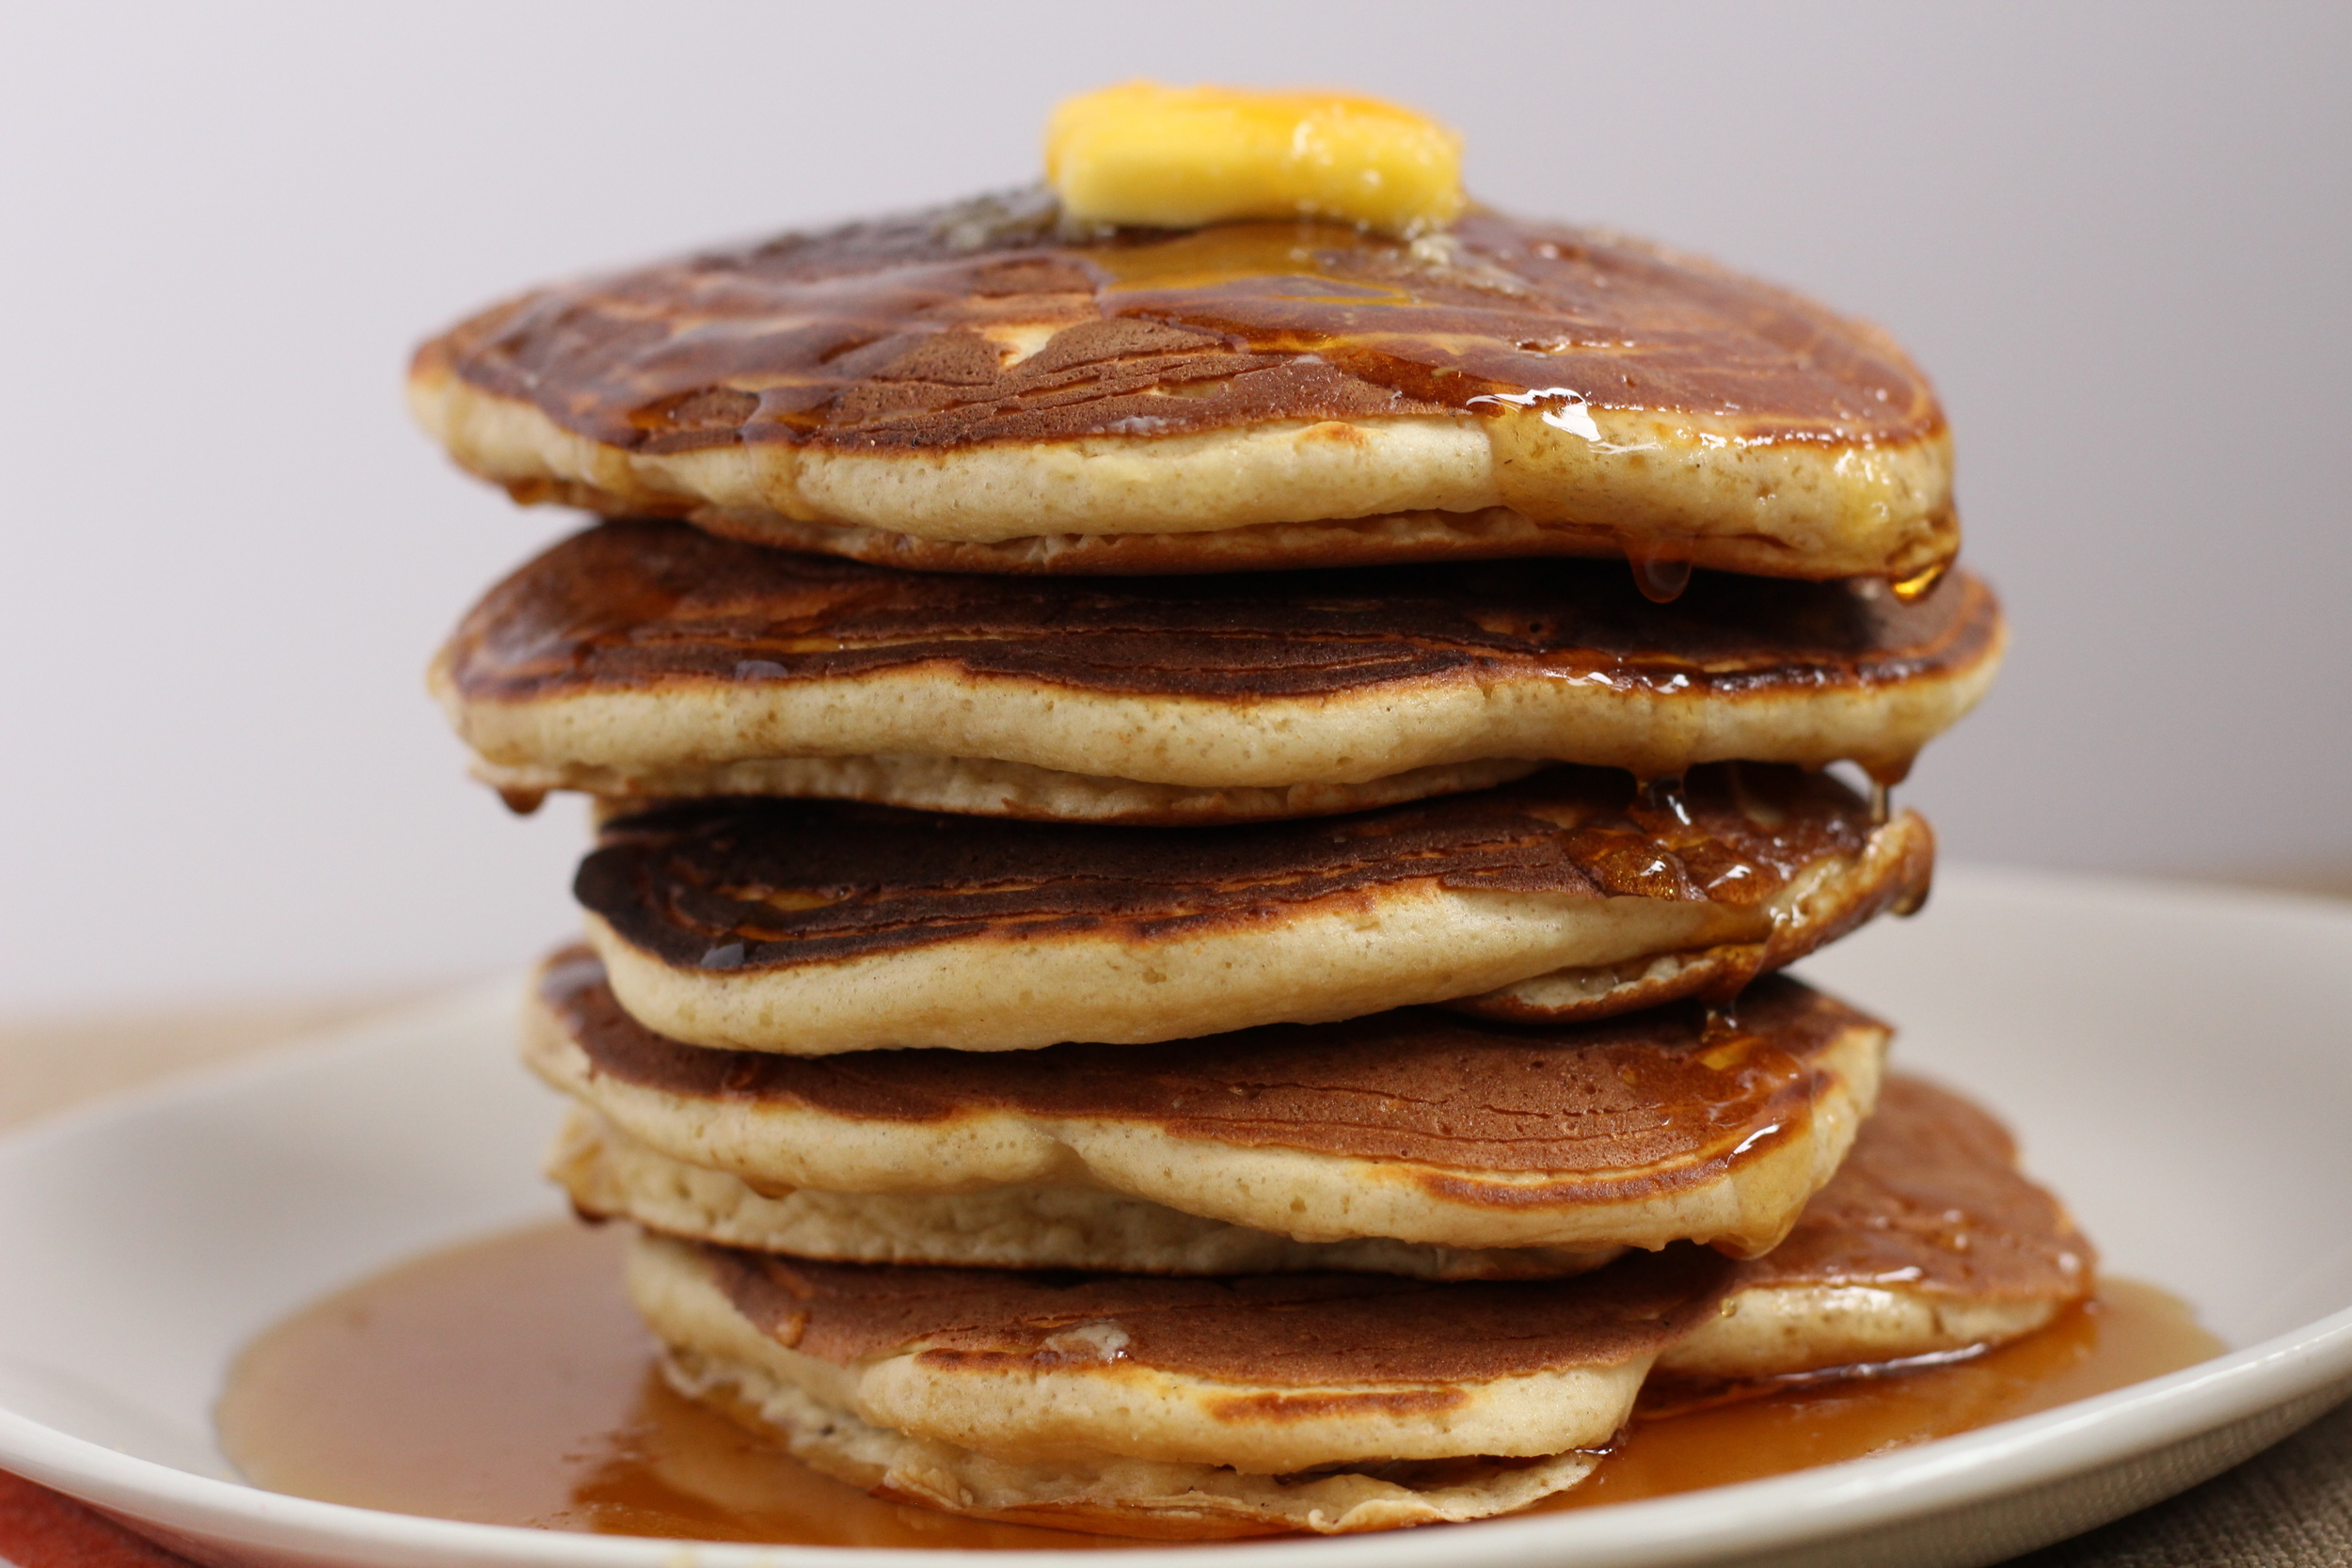
These pancakes (these fluffy, big, fat pancakes) are made using Egg White Protein.
BINGO!
It makes perfect sense.
Egg white protein powder reacts to heat similarly to the way eggs do when baking. Don't get me wrong, I still love baking with whey protein, but some recipes just work better with different protein powders! Whey protein doesn't seem to like high heat (hence rubbery or hard baked goods that are cooked for too long), but after my first experiment with egg white protein it seems this powder can stand up to the heat much more nicely. I'm excited for my baking experiments with this powder!
If you've never tried Egg White Protein Powder, here is your chance! True Nutrition has a great selection of protein powders and an exceptional Egg White Protein. As an added bonus, use my code 'MYENG' to receive 5% off your order!

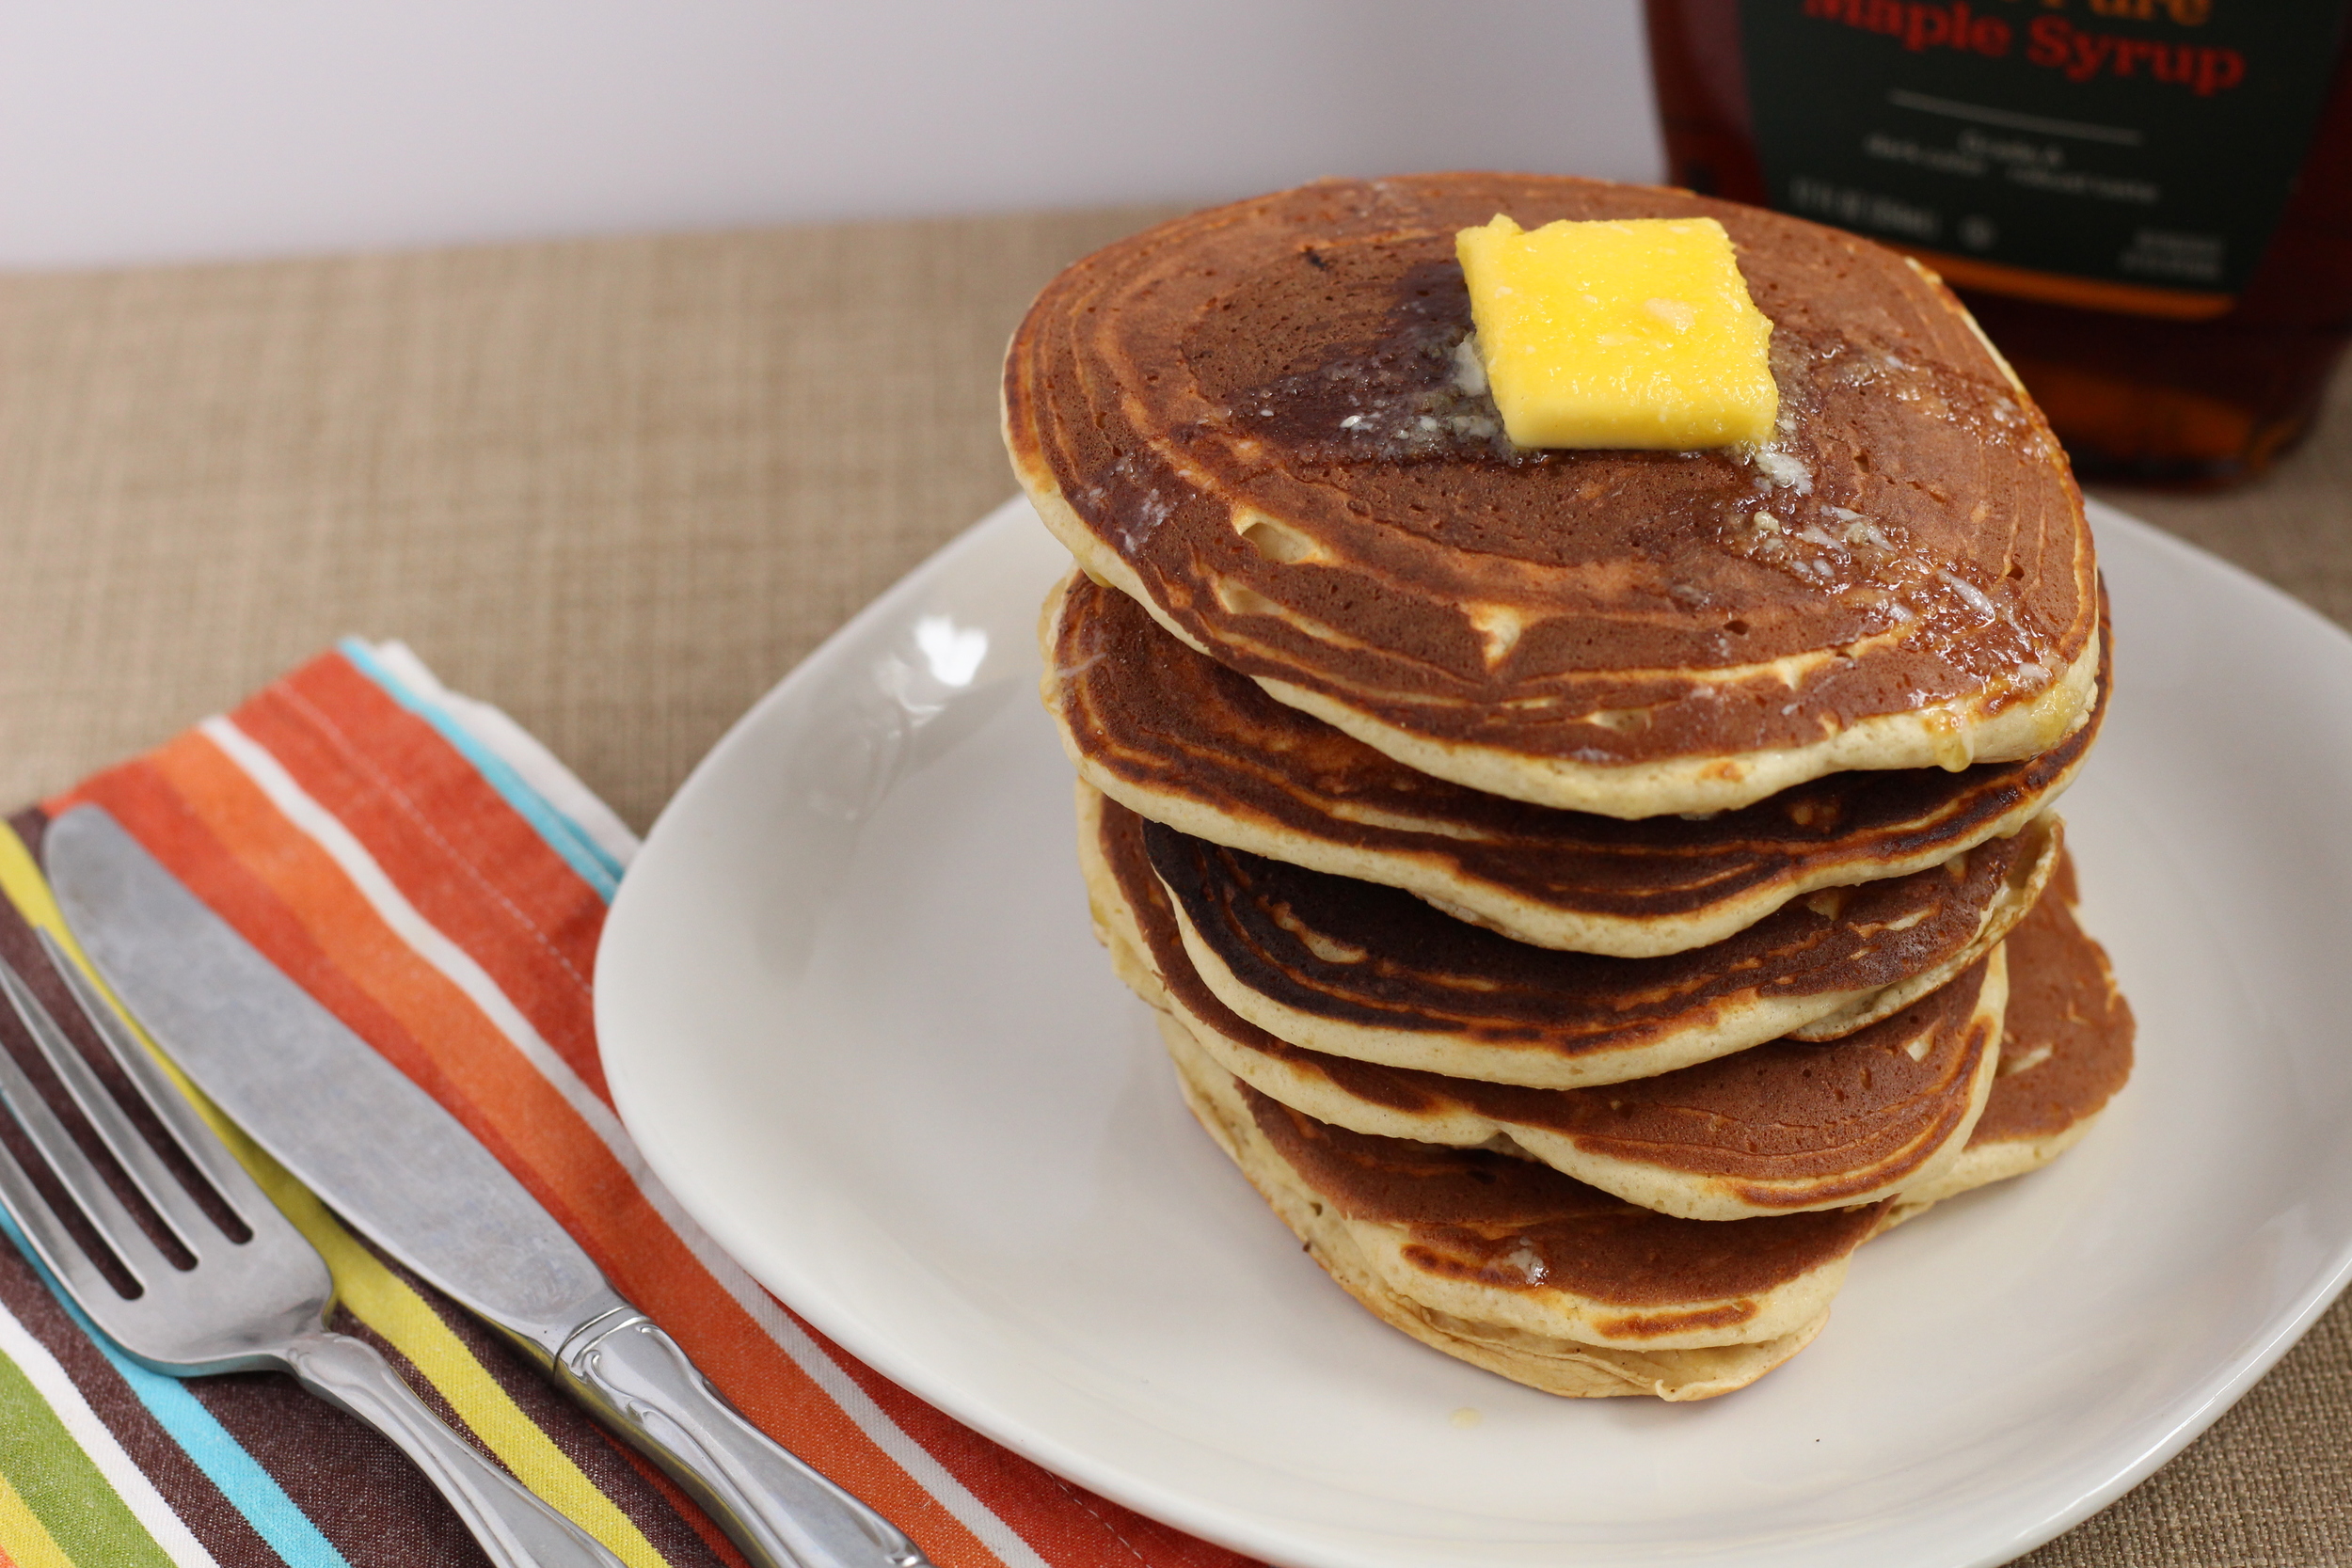
Fluffy Protein Pancakes
Prep Time: 5 minutes
Cook Time: 2 minutes
Servings: 6 pancakes
Ingredients:
- 1/2 cup Egg White Protein Powder (2 scoops), unflavored or vanilla
- 1/2 cup flour (I use 1-to-1 Gluten Free Baking Flour, but regular flour would work as well)
- 1 tbsp coconut palm sugar
- 1 1/2 tsp baking powder
- 1/2 tsp baking soda
- 1/2 tsp salt
- 1 tbsp butter, melted
- 3/4 cup reduced fat milk, 2%
- Additional butter or oil for making pancakes
- Optional: Pure maple syrup for serving!
Directions:
- In a mixing bowl combine your dry ingredients: whey protein, flour, coconut palm sugar, baking powder, baking soda and salt. Whisk to fully mix ingredients. Add butter and milk to the bowl and whisk until batter is smooth.
- Heat a lightly greased griddle or frying pan over medium heat - you don't want the pan too hot that it burns your pancakes! Scoop batter (approximately 1/4 c) onto pan. Cook the first side until you begin to see bubbles form, about 1 minute. Flip and continue to cook until both sides are browned, about another 30-45 seconds. Serve while hot!
Nutritional Information (1 pancake):
115 calories - 10 g Protein, 13.5 g Carbohydrates, 2.5 g Fat