Thanksgiving Recipe Round-Up!

Does anyone else agree that Thanksgiving has COMPLETELY snuck up on them?! I mean, where the heck did 2016 go...how are we nearing the end of November already?!

(Deep breaths)

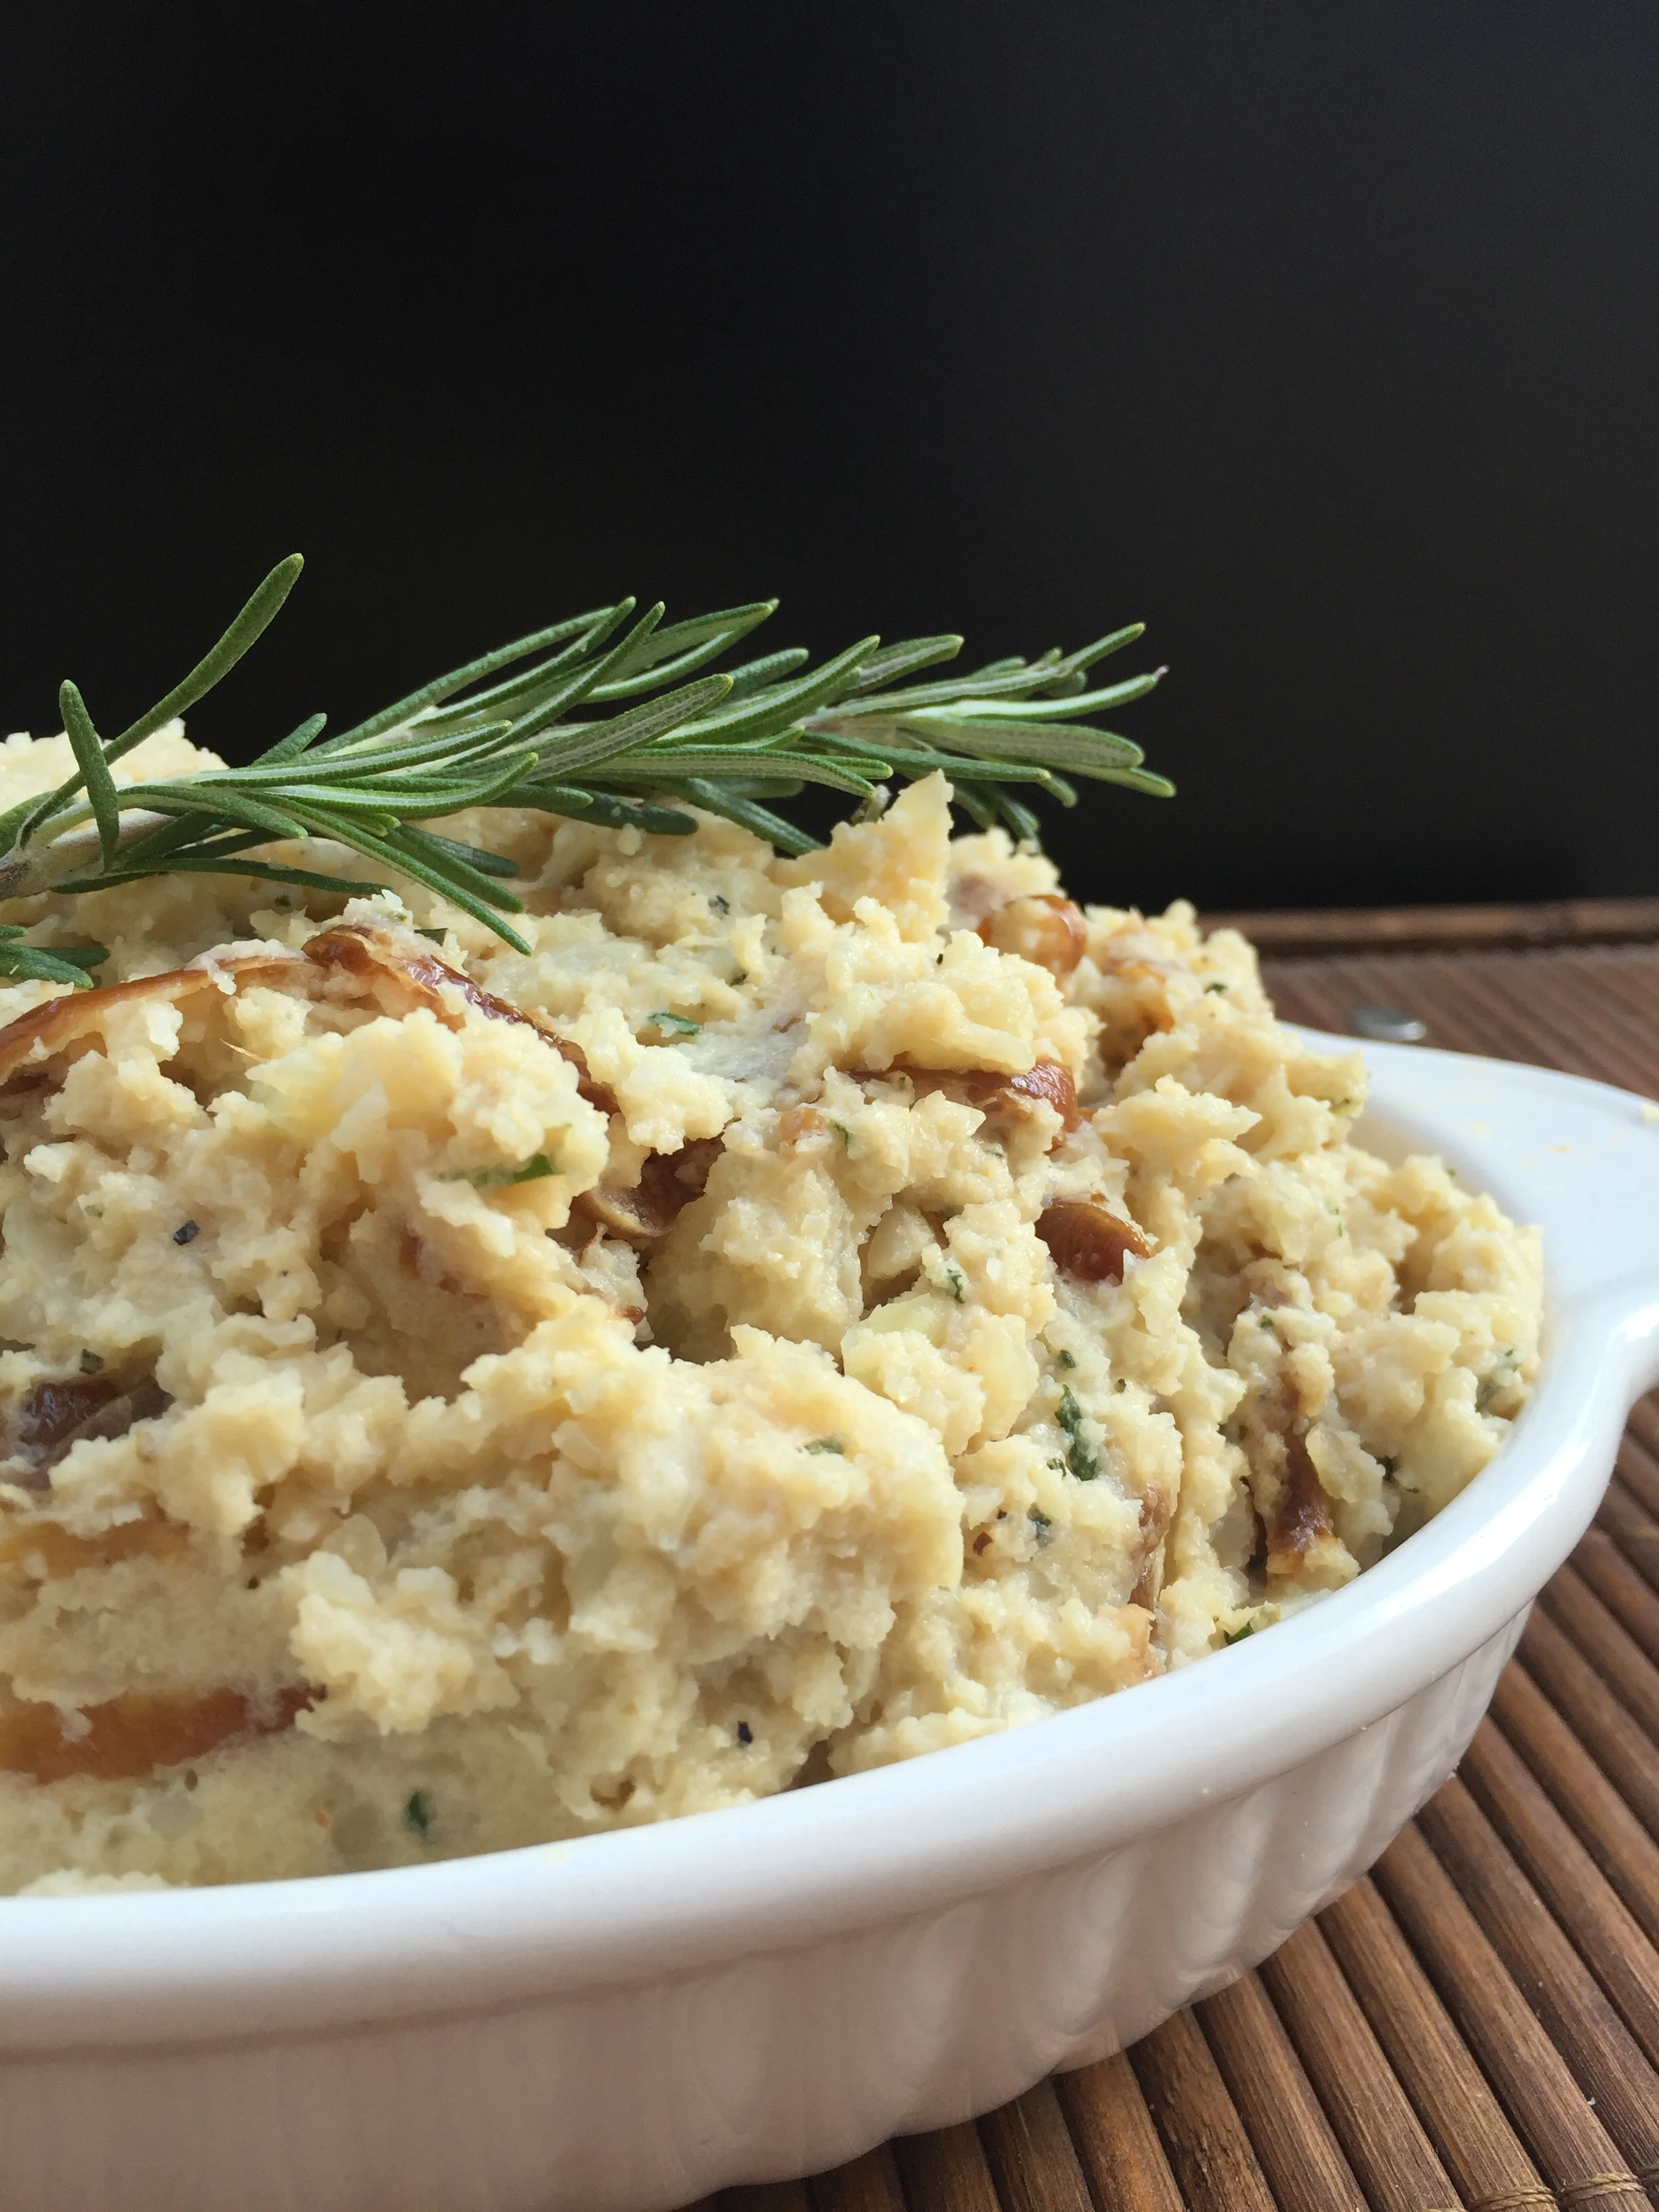
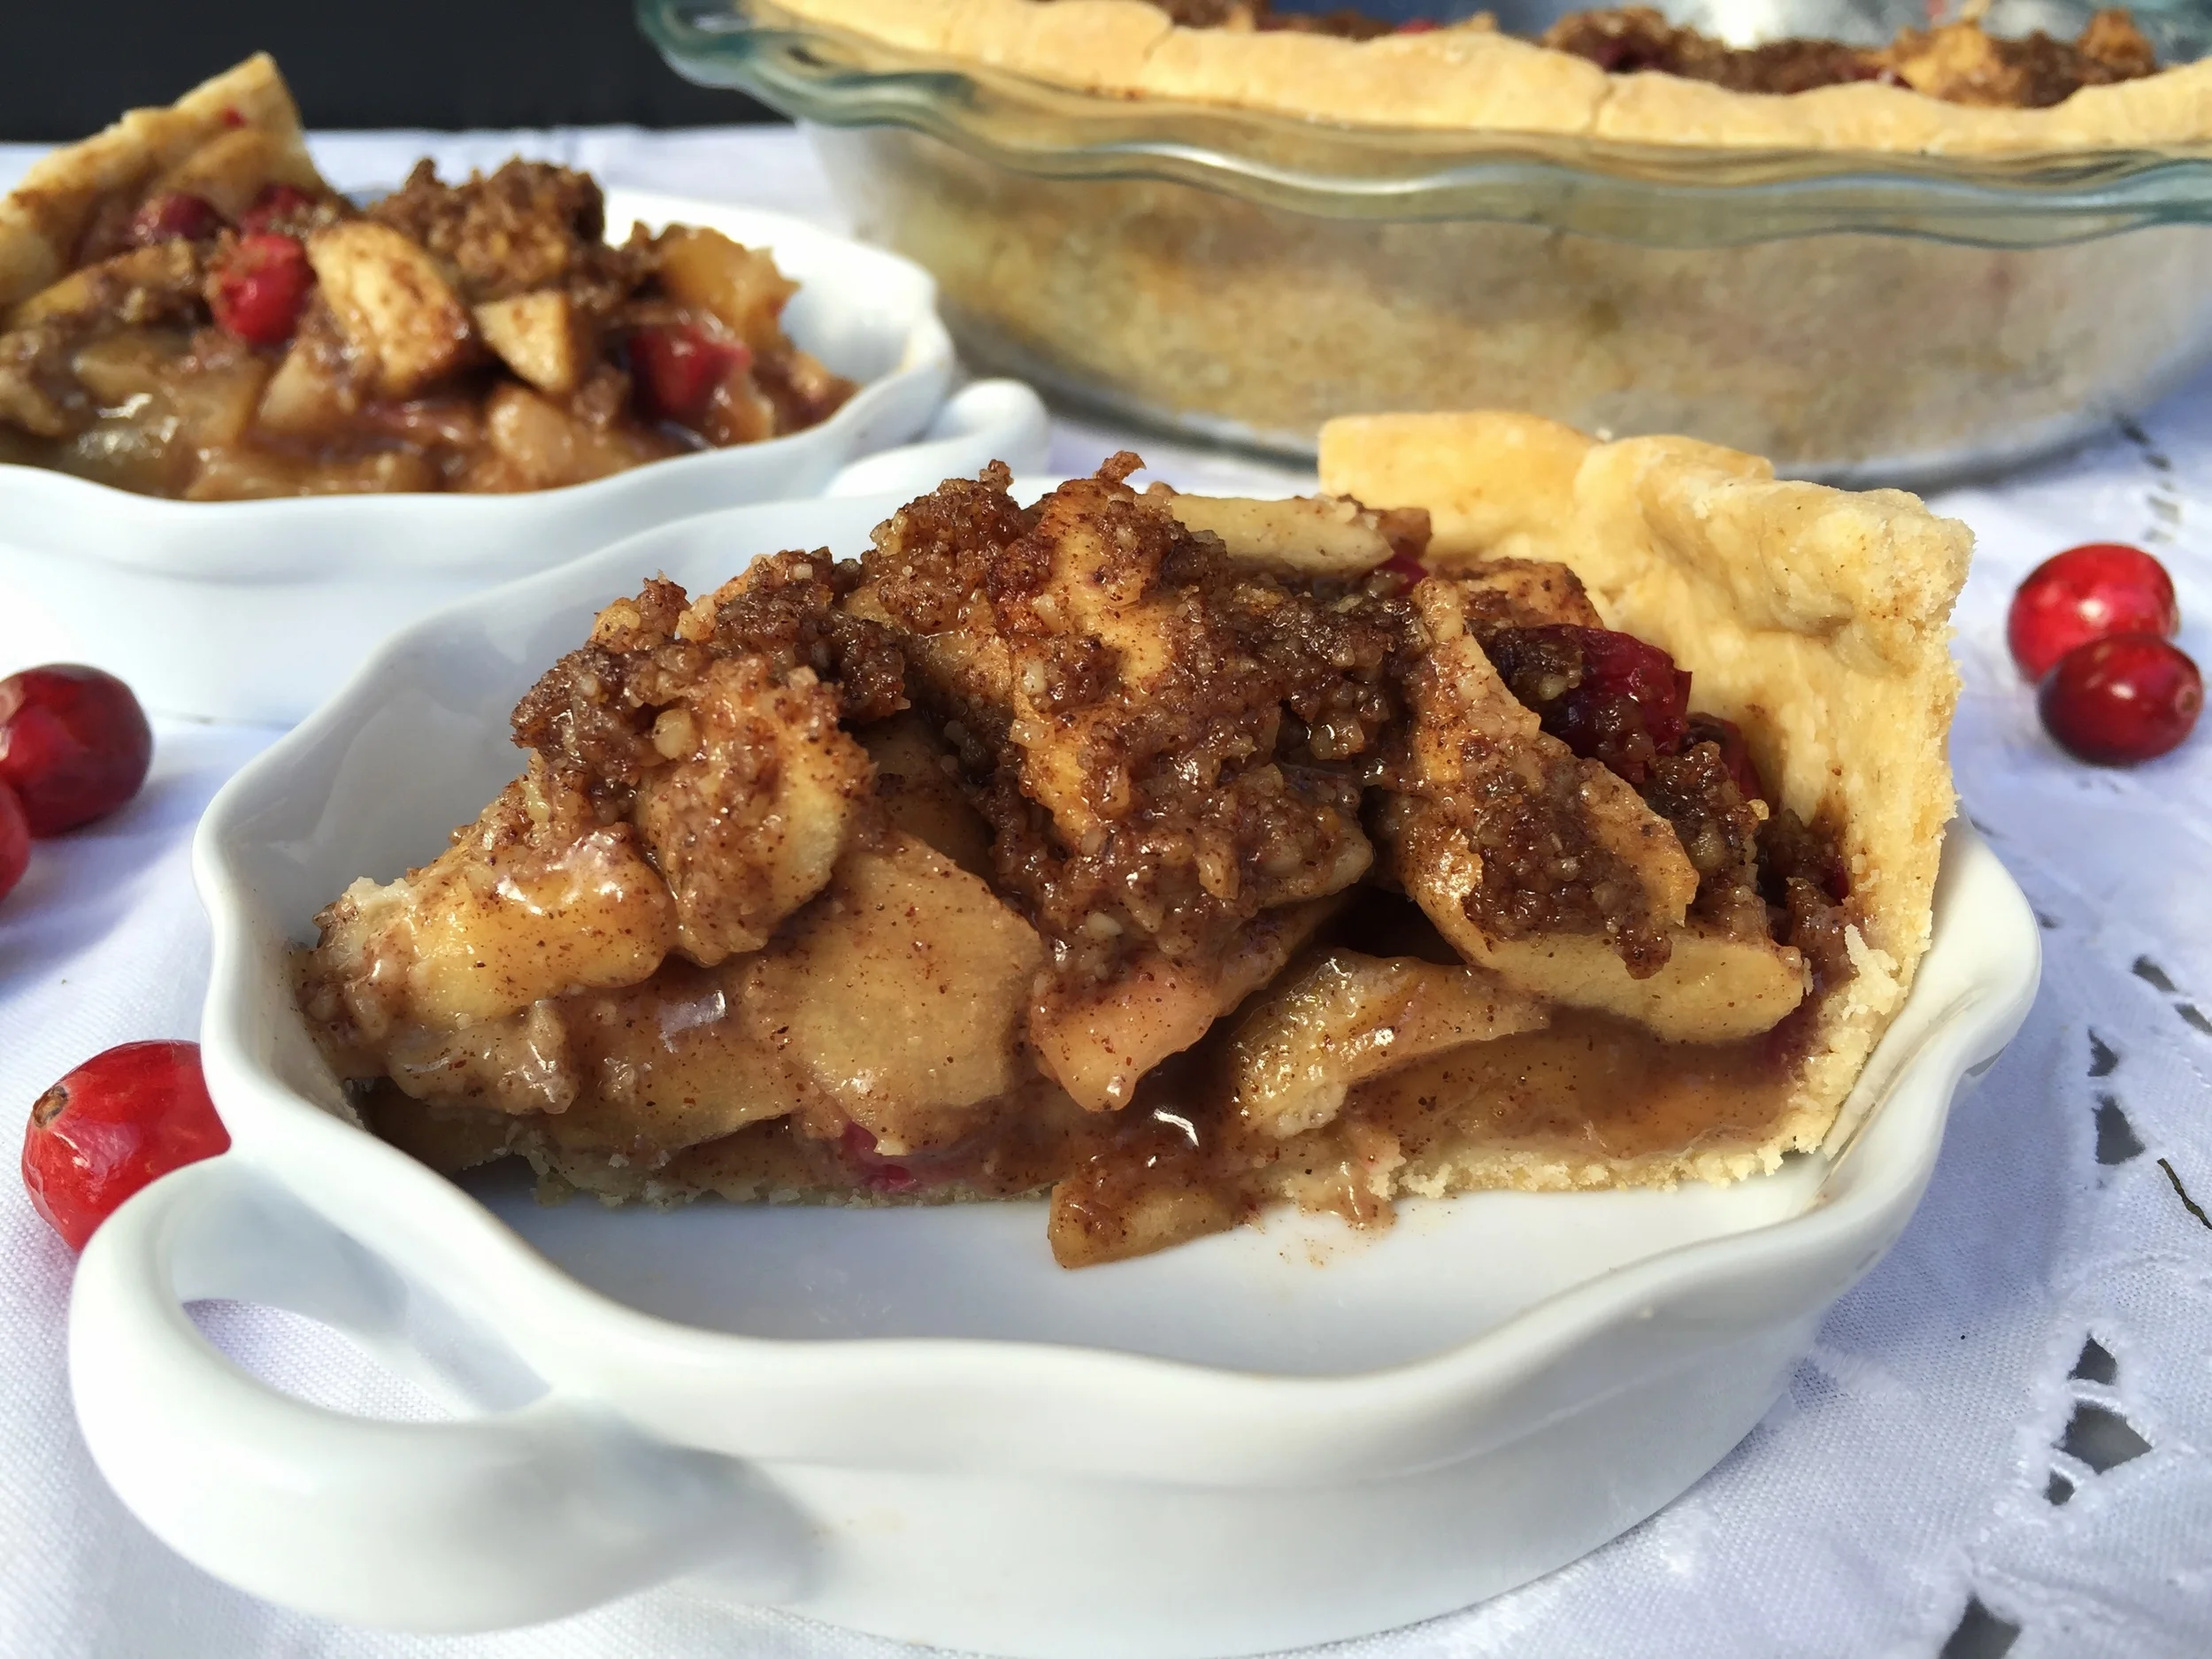
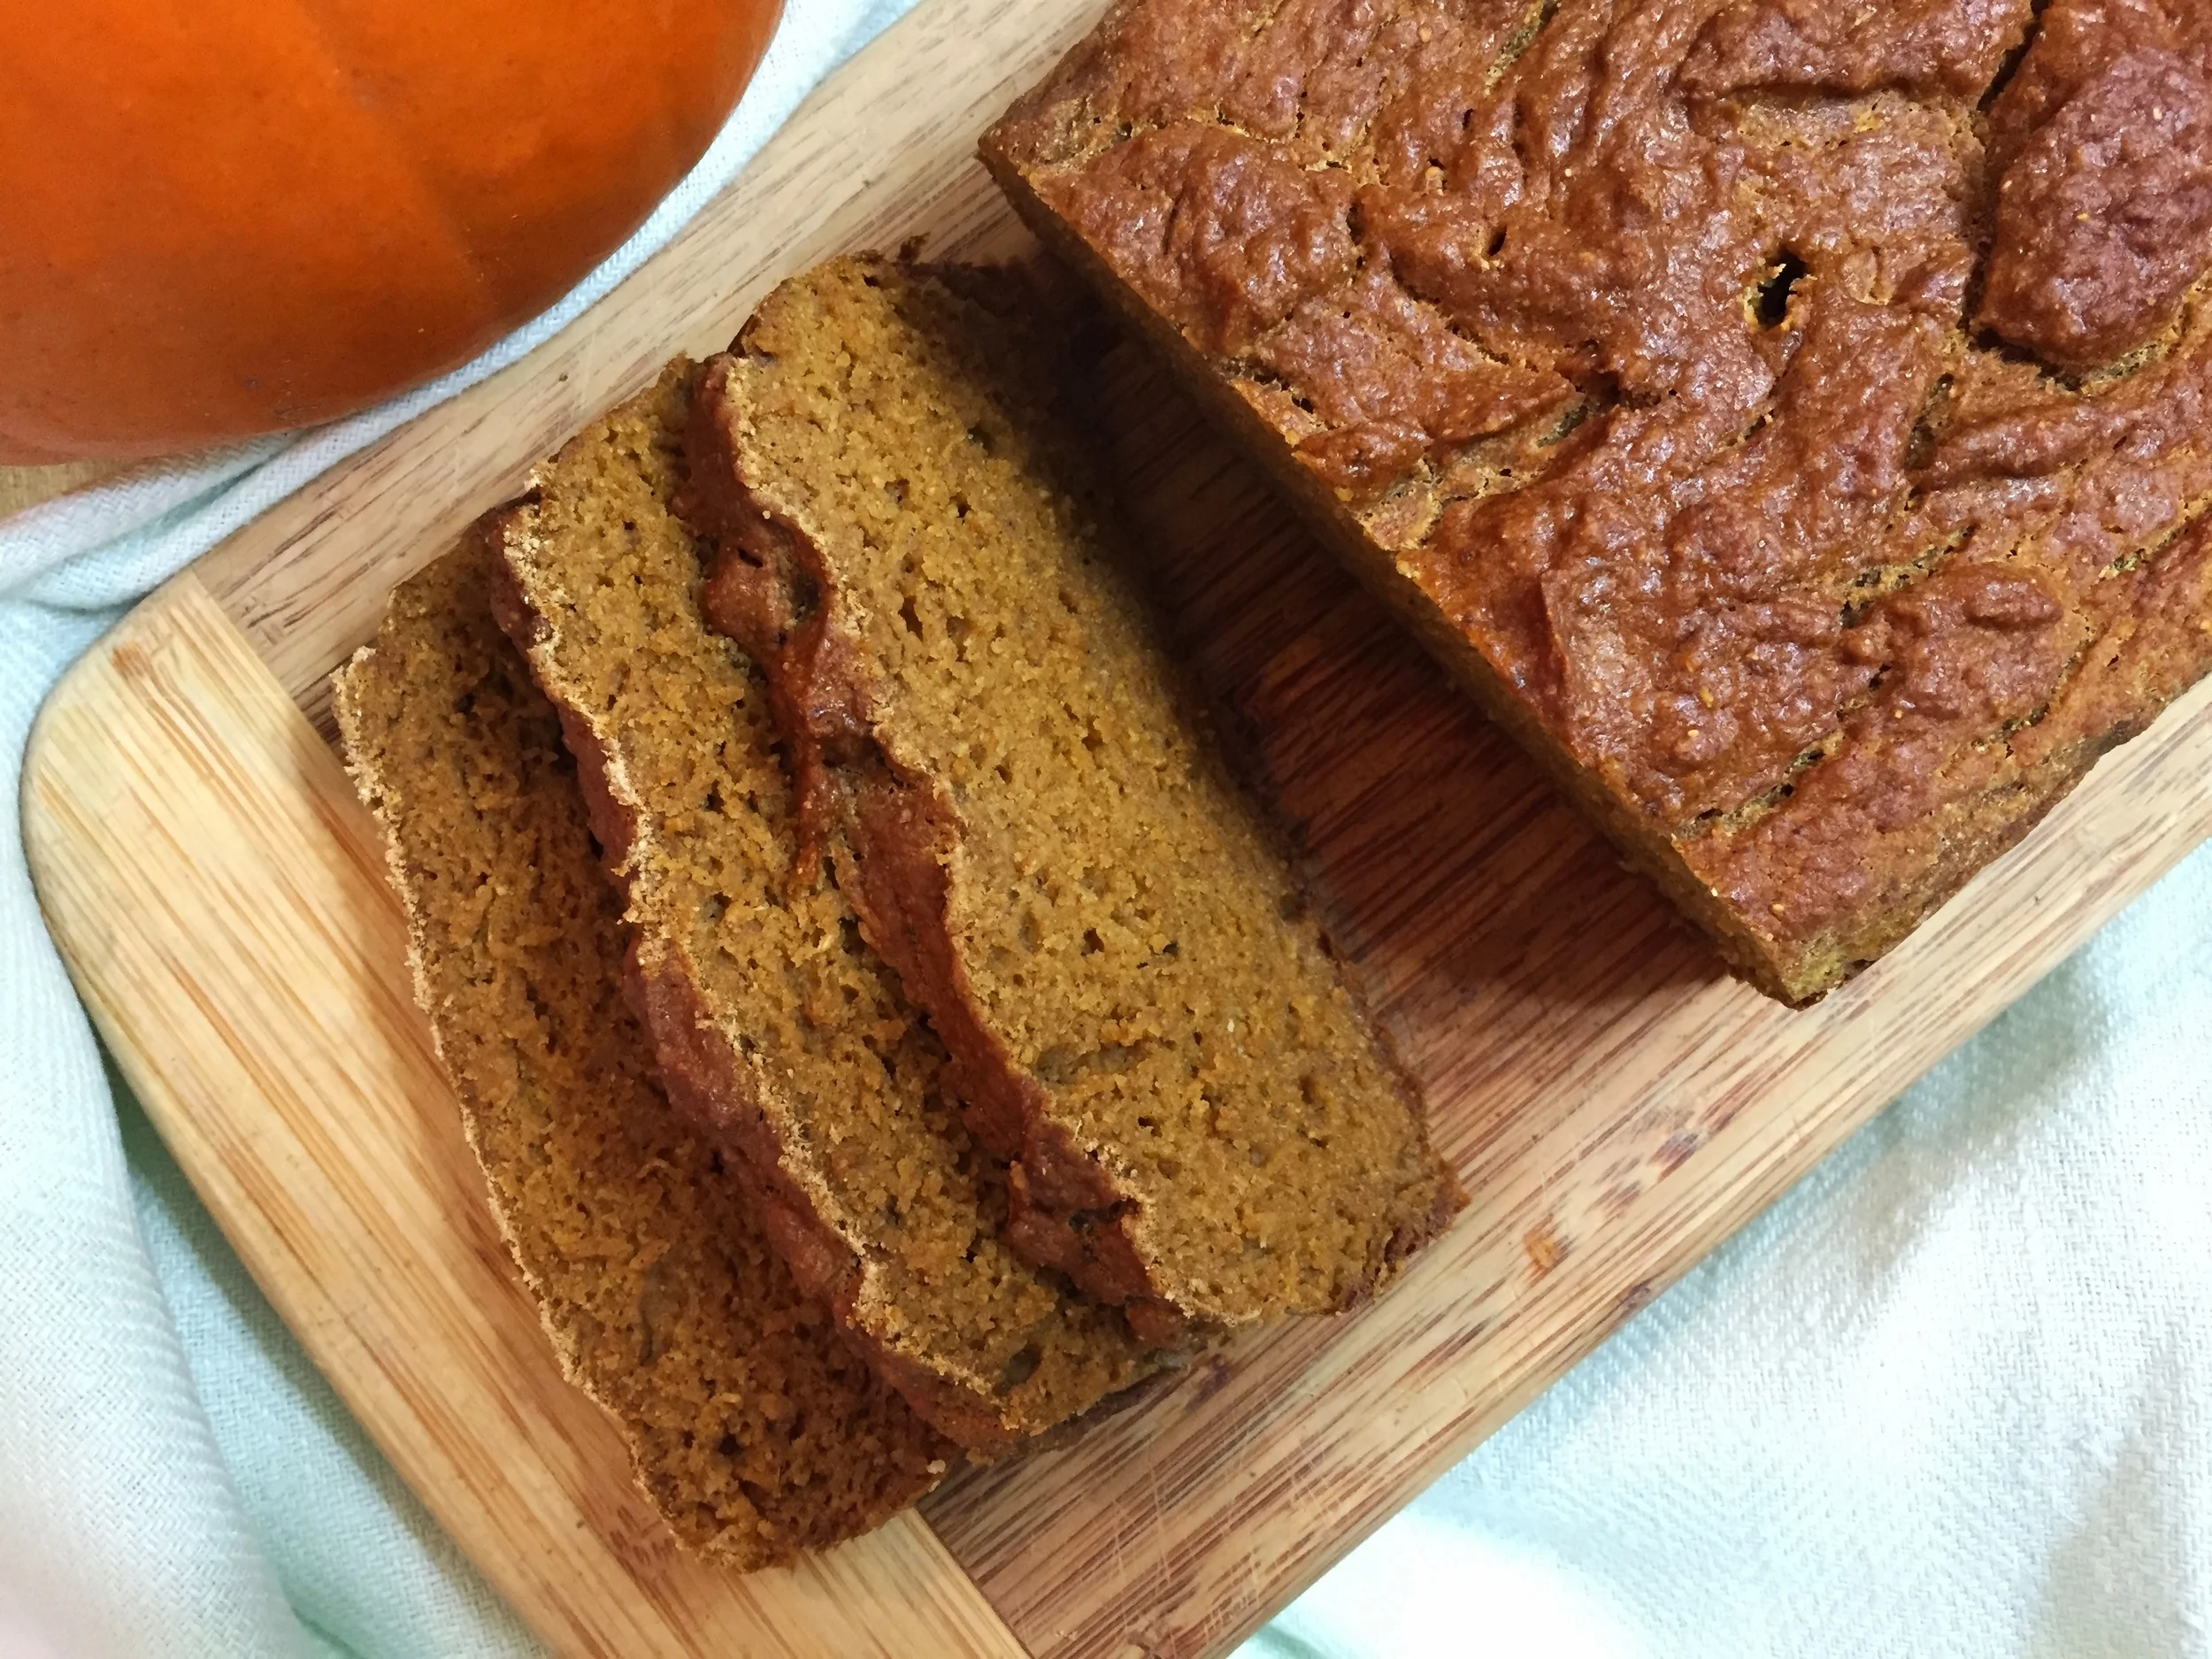
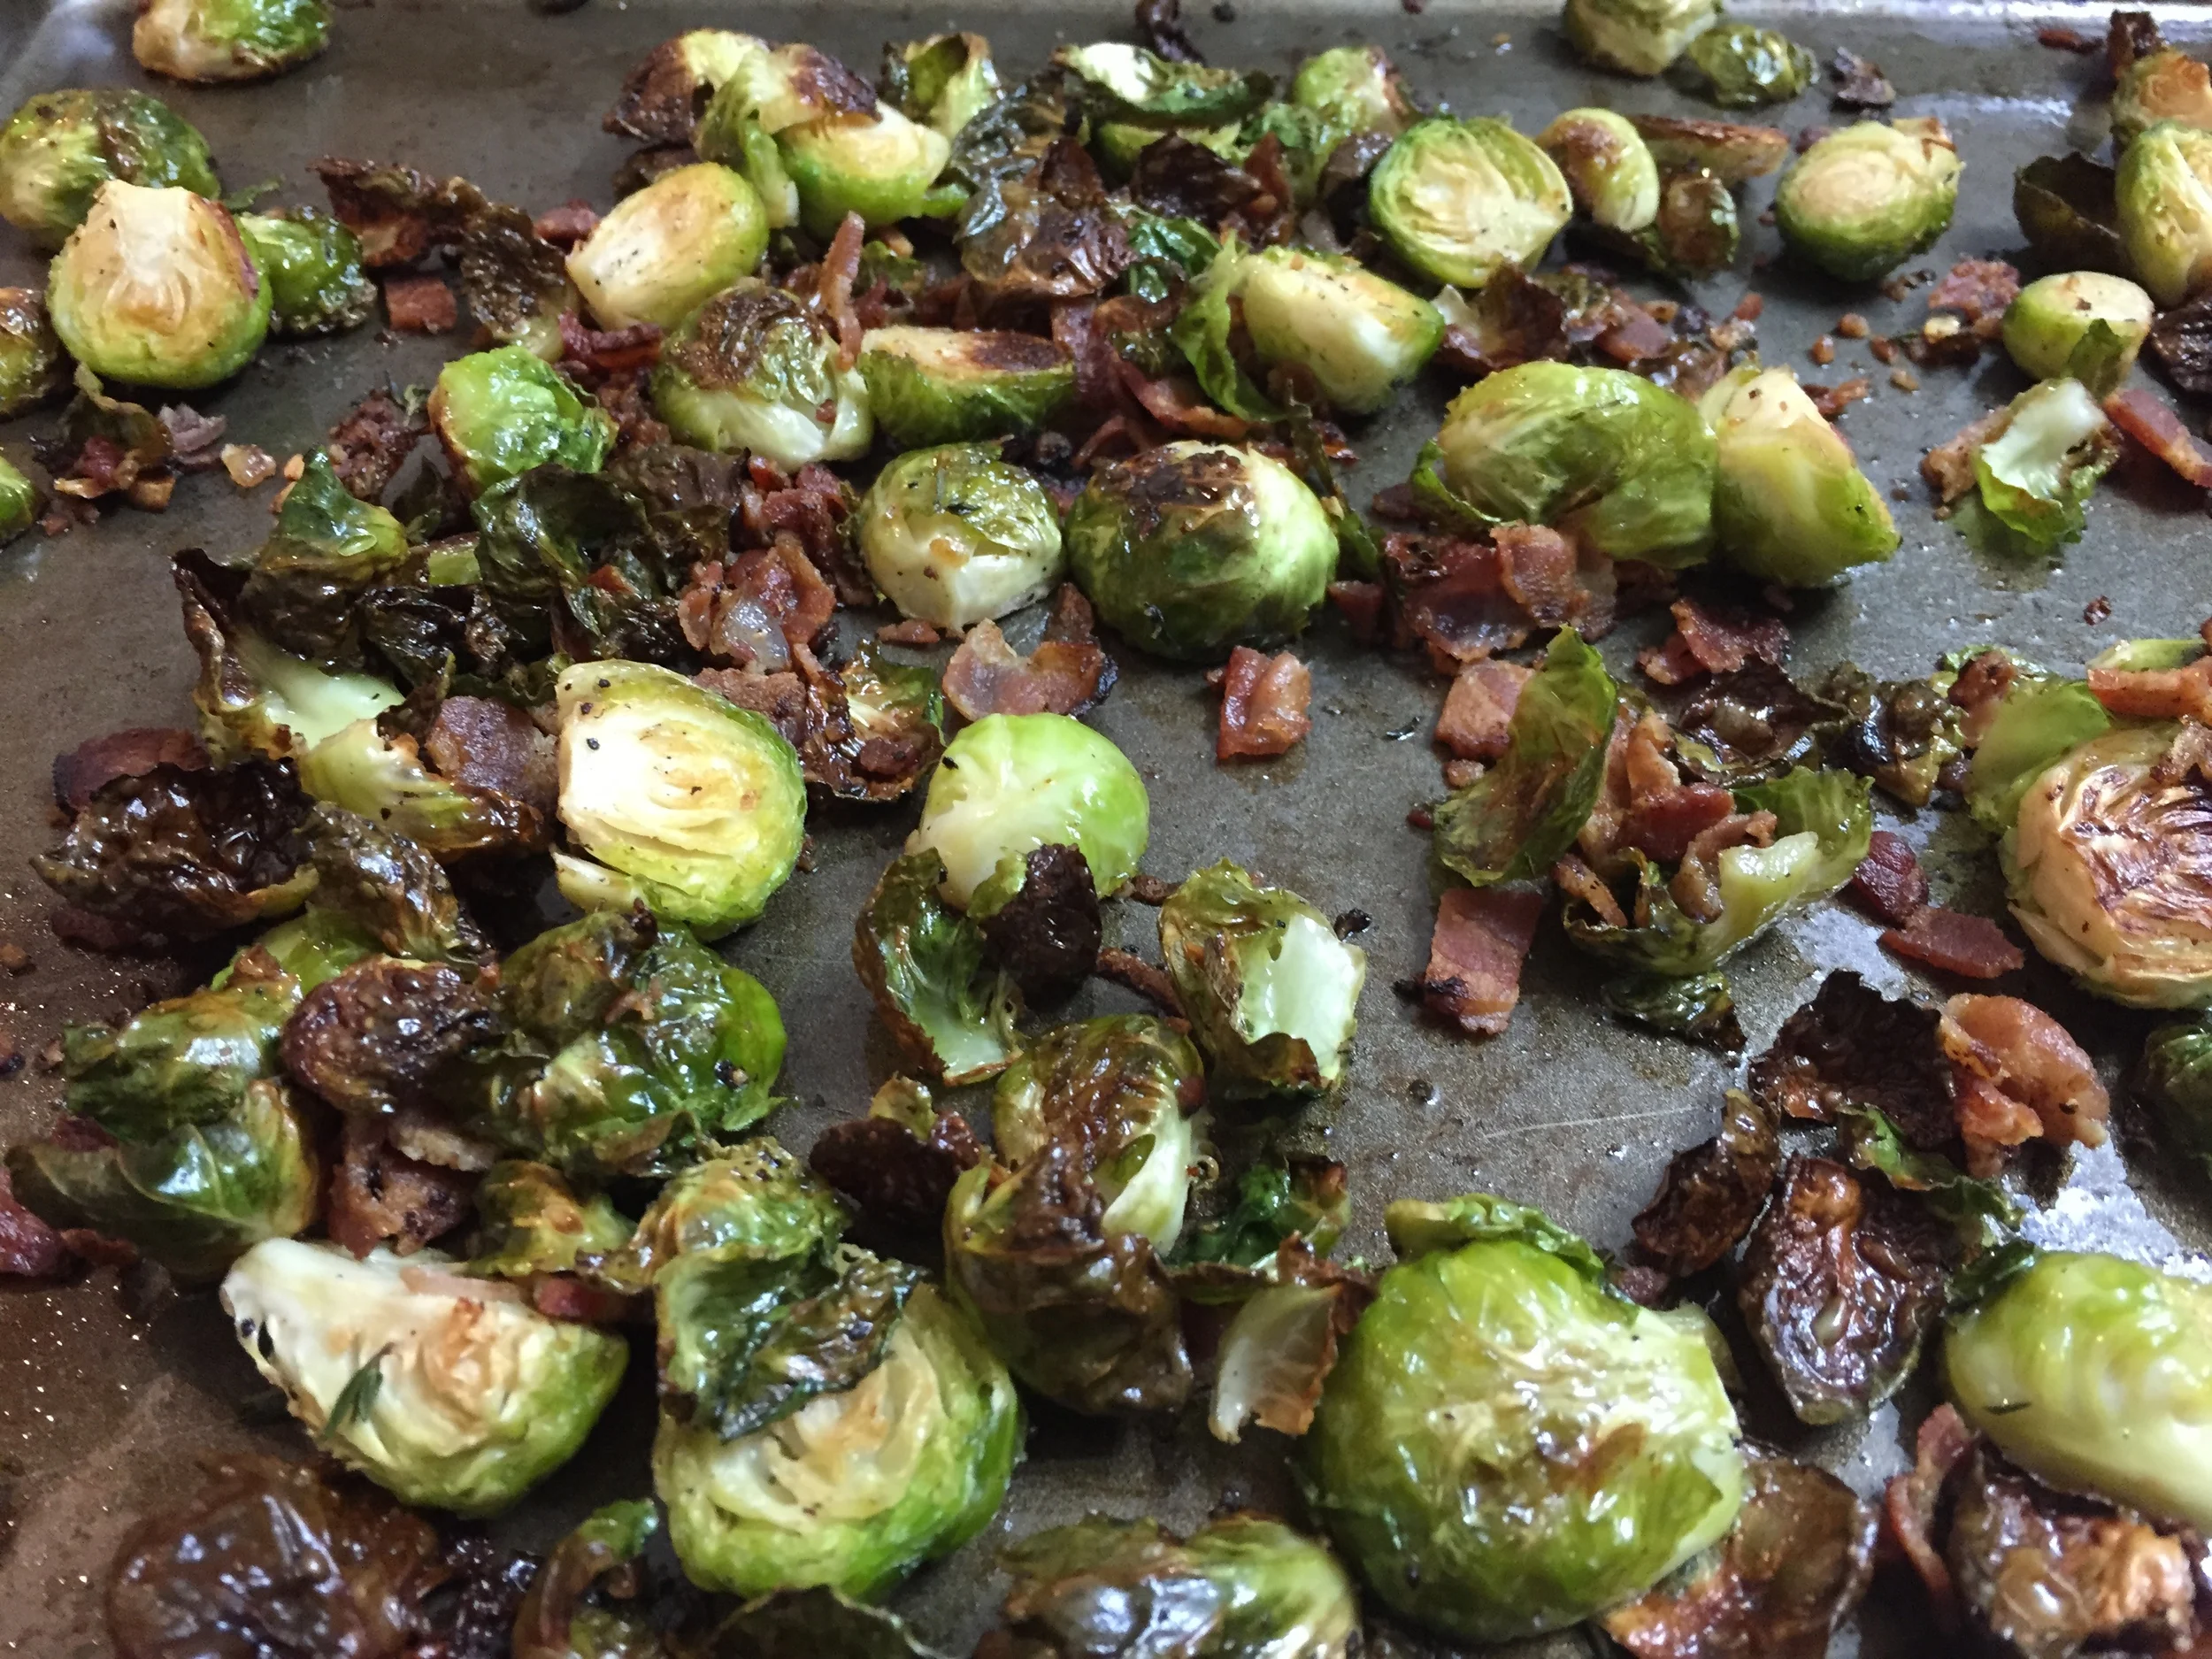
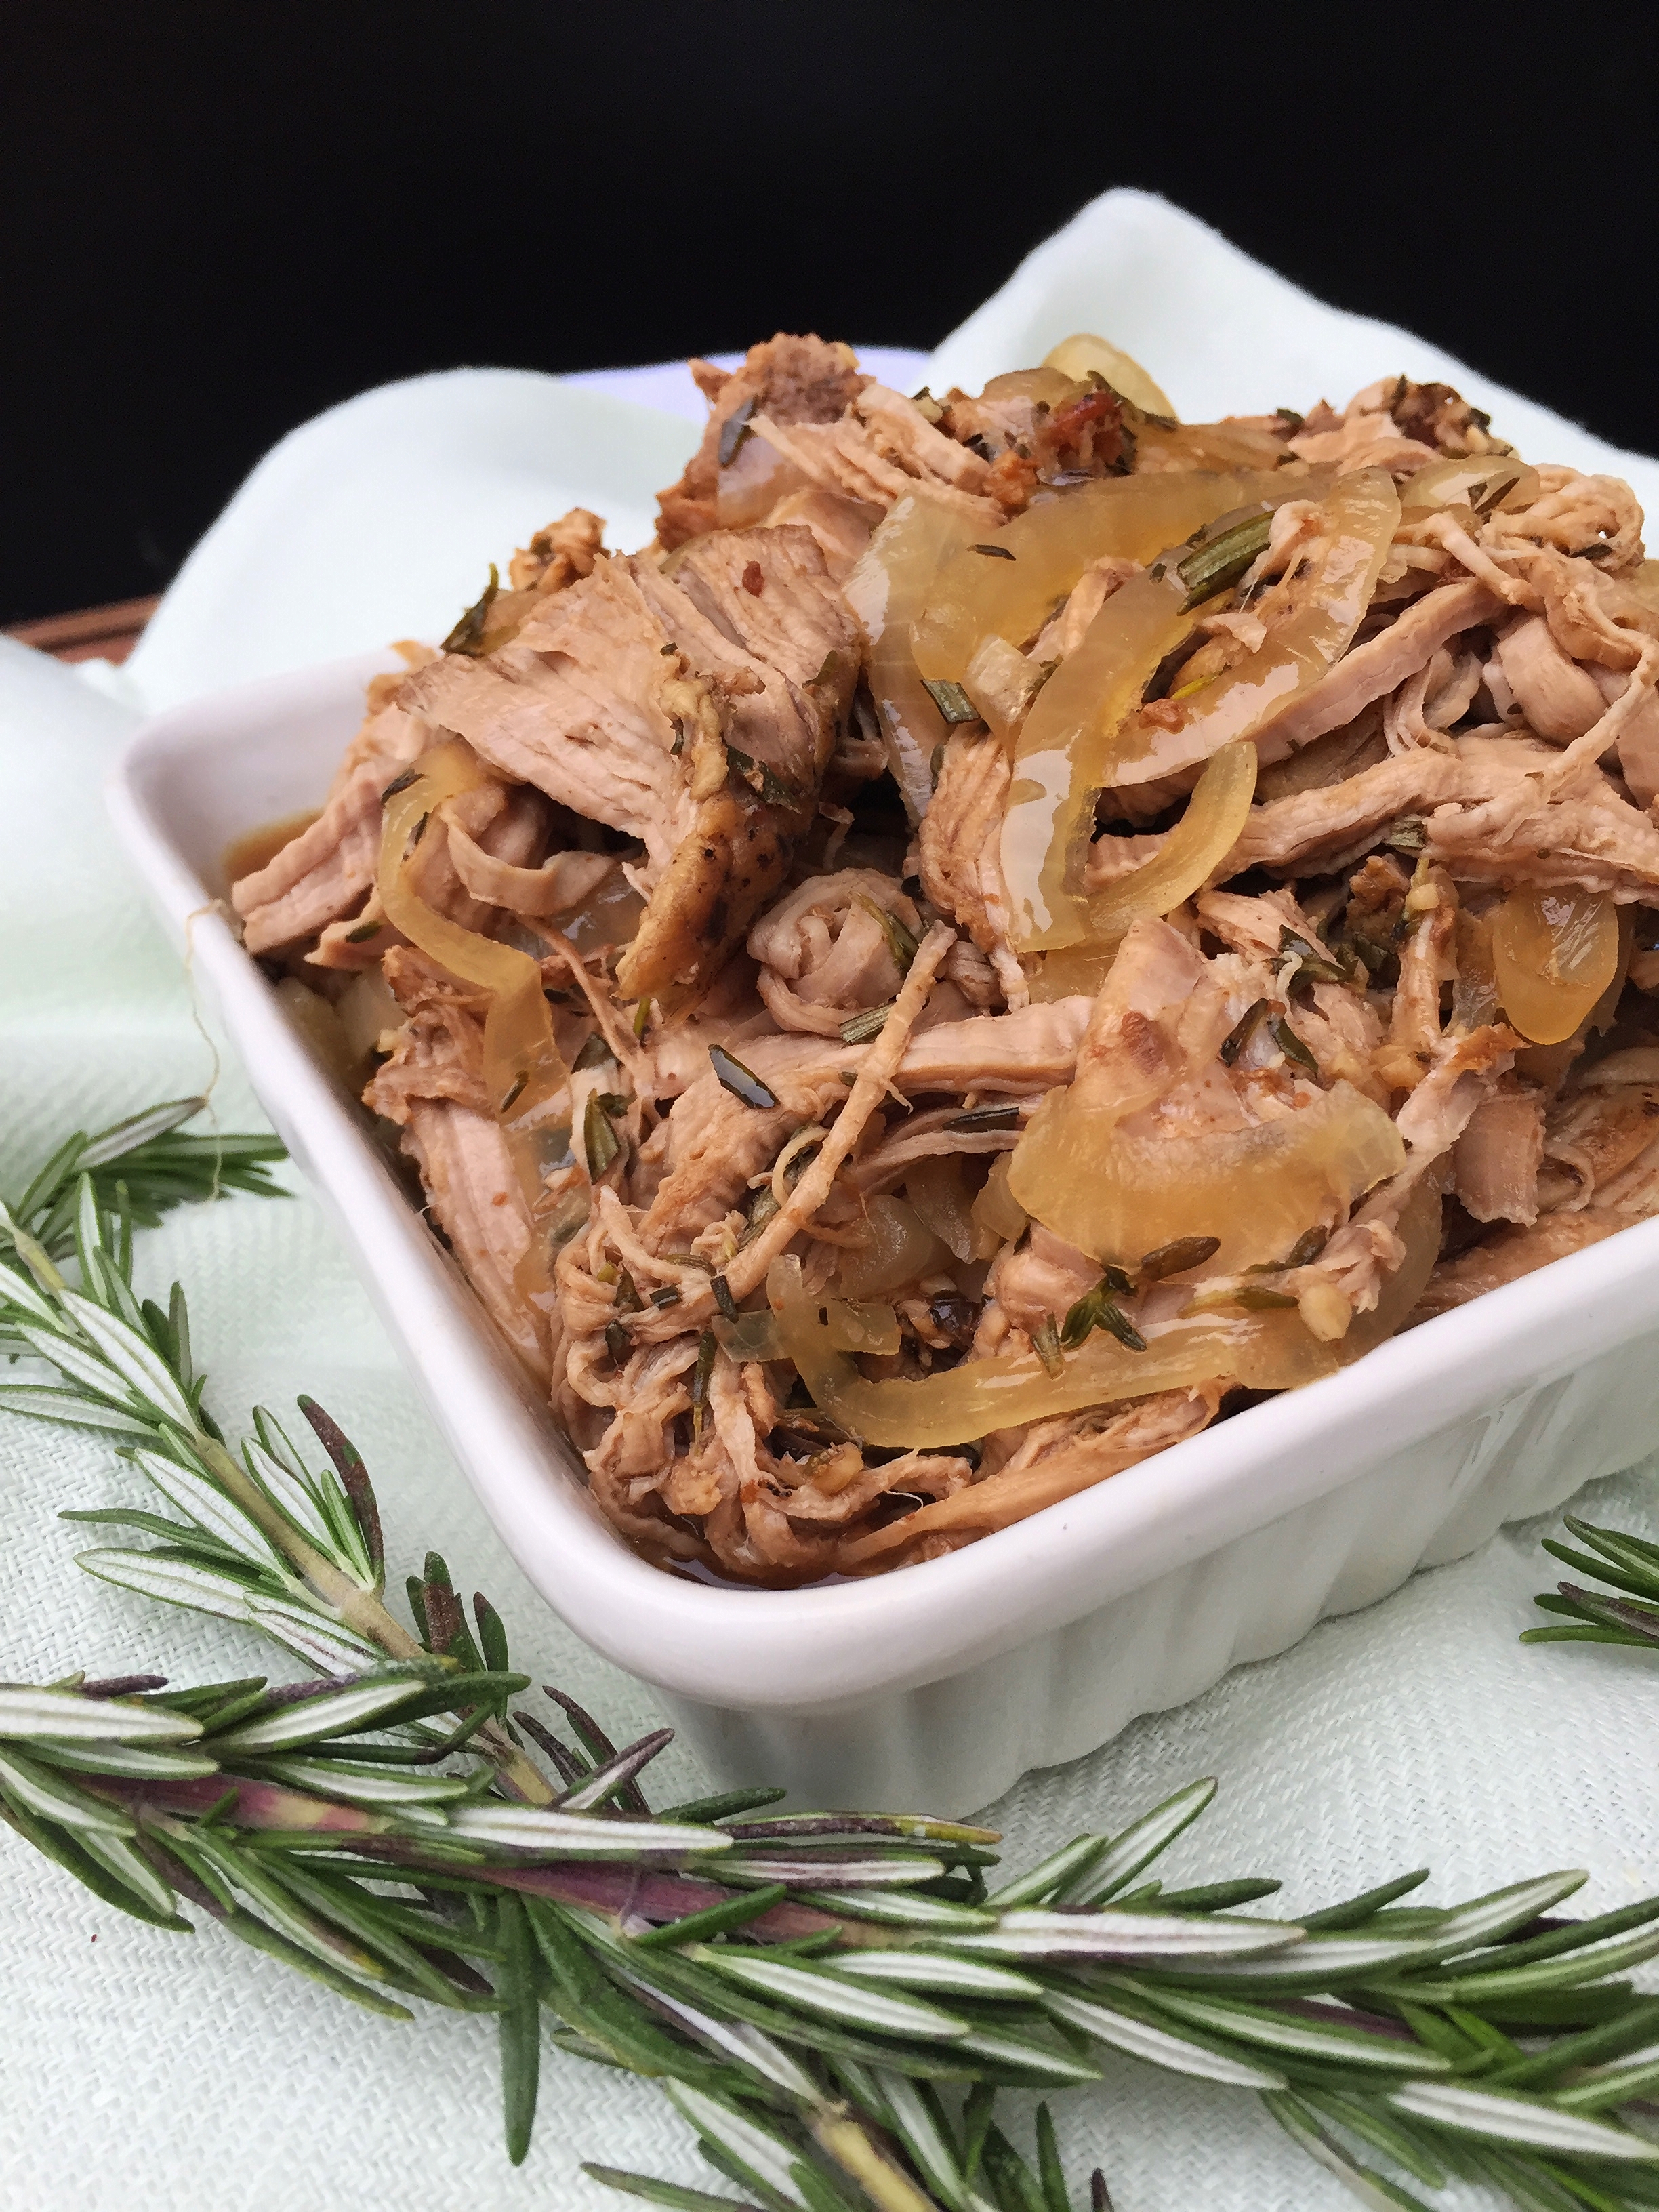
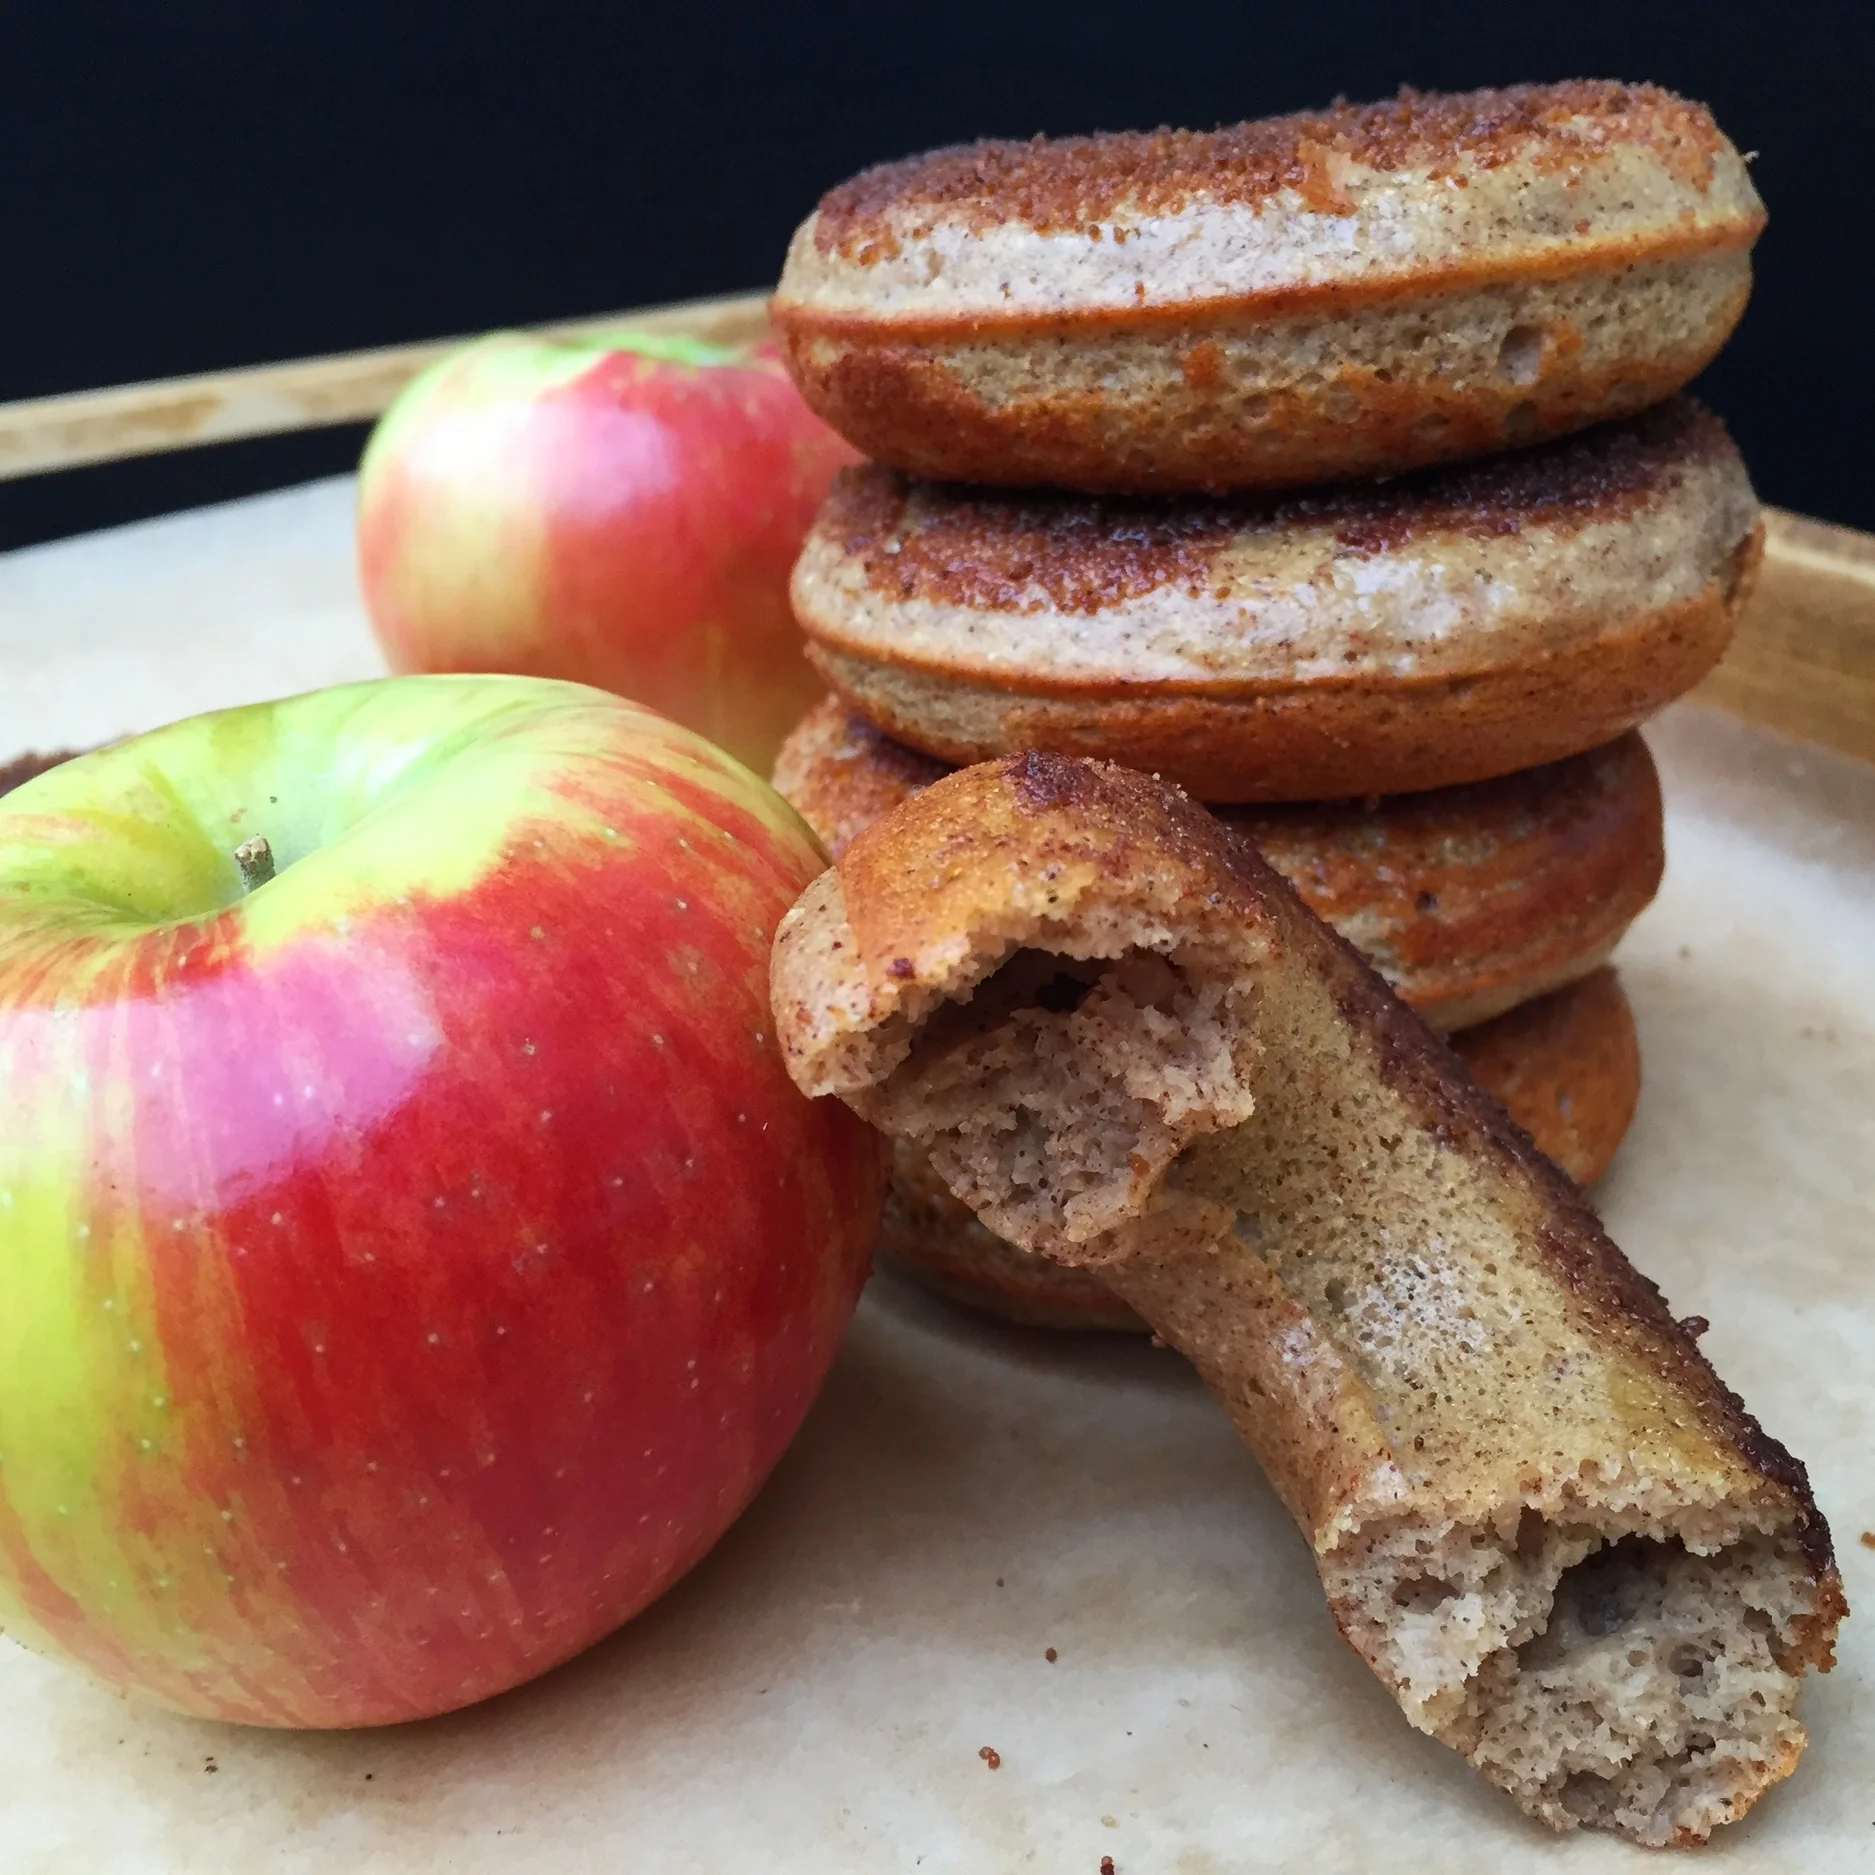
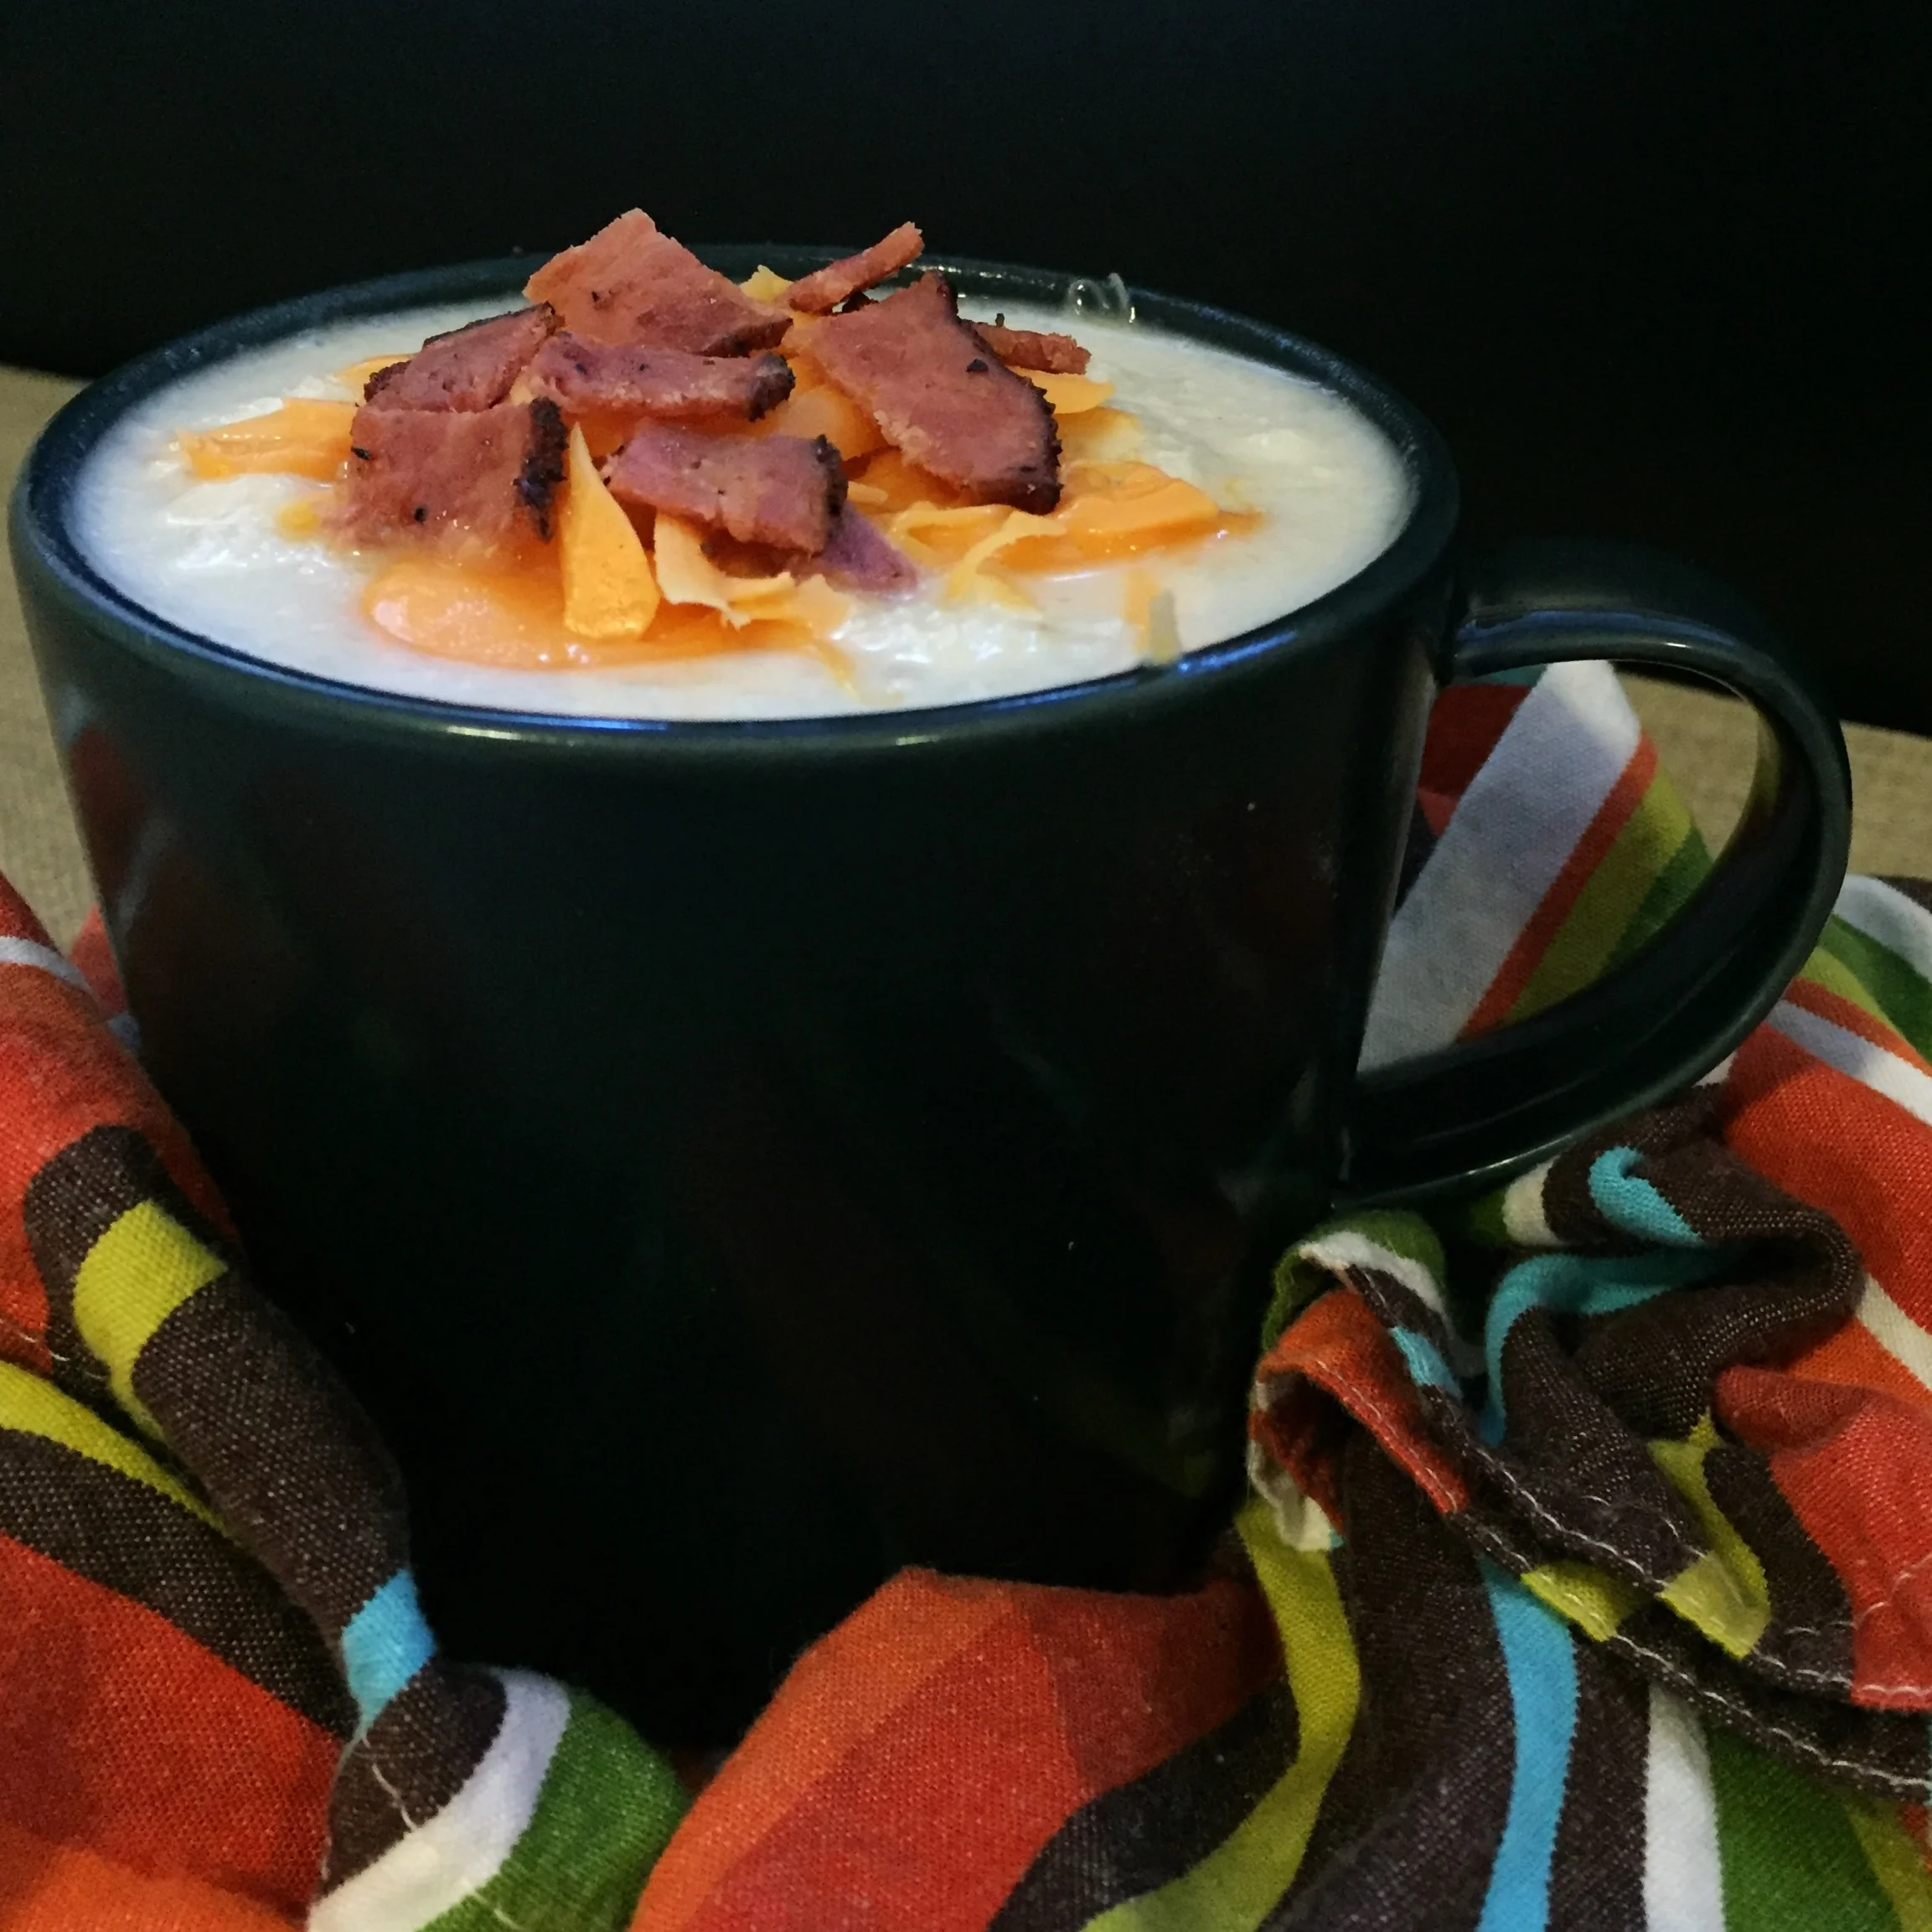
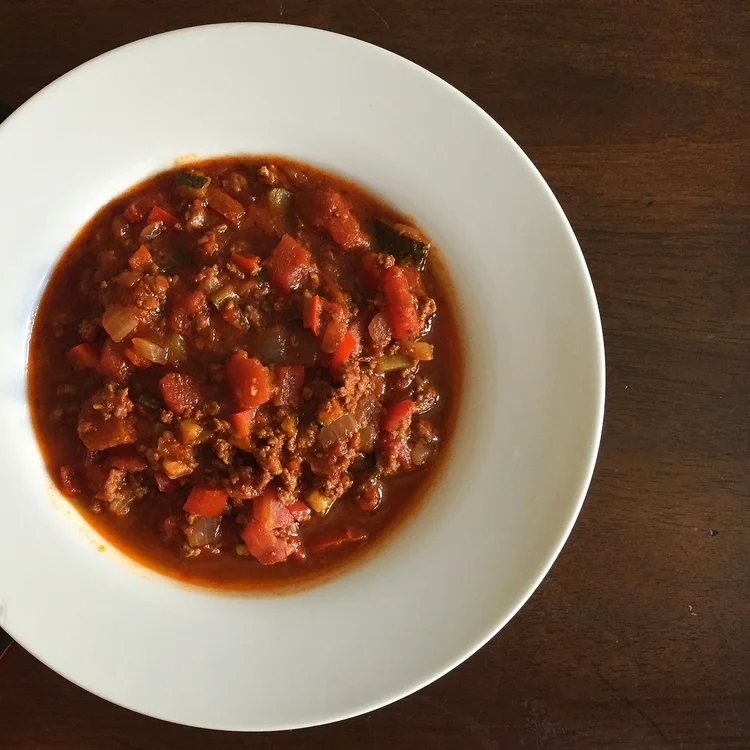
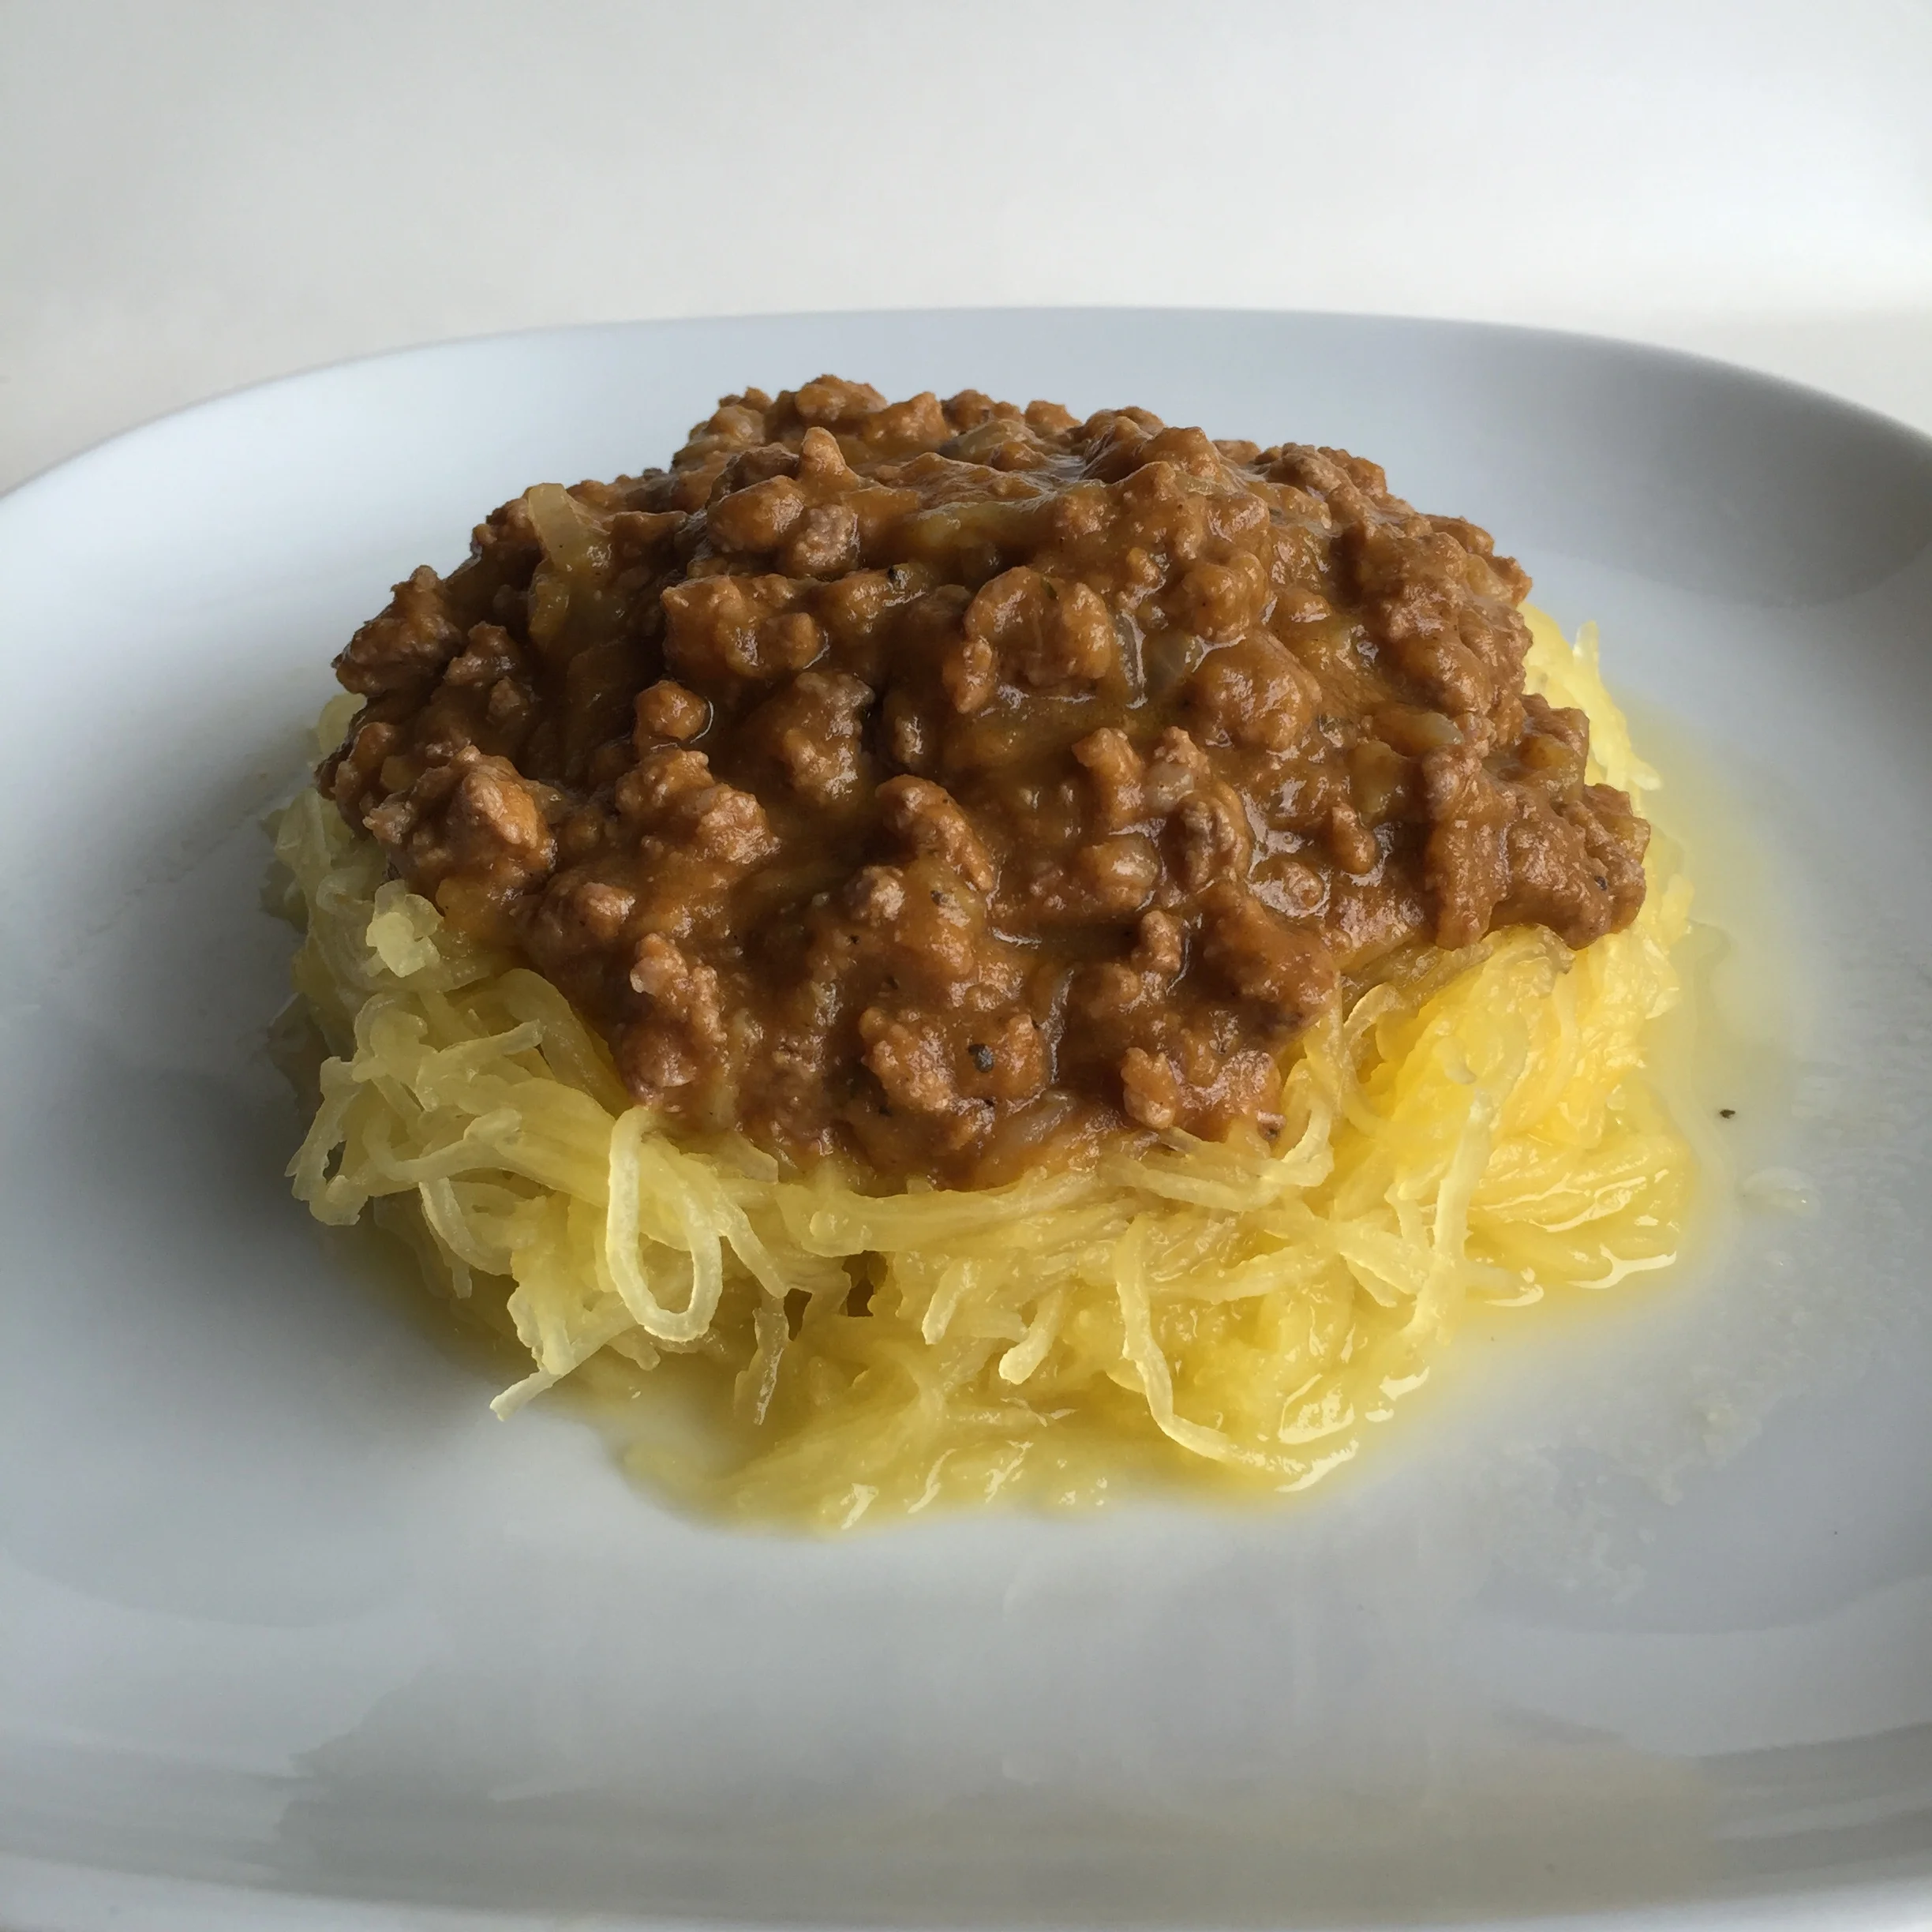
I don't know about you, but I haven't had time to even think about my Thanksgiving menu. Luckily, My Engineered Nutrition has you and I covered! Everything you need for a kick-ass feast, aside from the turkey, can be found below. I personally can't wait for my Sweet Potato Stacks and Whipped Cauliflower with Caramelized Onions. 

What will be on your menu? What are your family favorites? I hope you find room for a few of mine below!

Posted on November 15, 2016 and filed under Entertaining.

No-Guilt Chocolate Brownies

Double Chocolate Brownies | My Engineered Nutrition

When it comes to chocolate, I don't mess around. I love dark chocolate - the more chocolate the better. Some people shy away from dark chocolate or overly chocolate thing (whatever that means?!) but I go straight for them. 

So which chocolate lover are you? Sweet and milk chocolate or dark and rich? 

Regardless, I think we can all join hands and agree that these Double Chocolate Protein Brownies are a really winner. 

Double Chocolate Brownies | My Engineered Nutrition

Don't let these fool you. While double chocolate desserts are often synonymous with rich and decadent, these brownies pack all the decadence without the guilt. I've shared my love for fudge-like brownies in the past (with my Chocolate Pumpkin Brownies) but these are actually more towards the cake-like side of the spectrum. 

The first time I made these I thought they were too good to be true. I experimented using Hemp Protein  for the first time in these, a plant based protein I hadn't tried before. These are chocolaty, moist and best of all...each brownie is less than 10g of carbohydrates and only 3.5g of fat. THE DESSERT ANGELS ARE REJOICING!!

Or maybe it's just me rejoicing? Either way, do yourself a favor and whip up a batch of these ASAP. And if I can leave you with one final recommendation...these are sinfully delicious when paired with a scoop of ice cream. What more do you need in life?

Double Chocolate Brownies | My Engineered Nutrition

No-Guilt Chocolate Brownies

Prep Time: 10 minutes

Bake Time: 25-30 minutes

Servings: 9

Ingredients:

  • 1/2 c. hemp protein, chocolate 
  • 1/3 c. cocoa powder
  • 4 tbsp coconut flour
  • 1/2 tsp baking soda
  • 1/4 tsp salt
  • 1 egg
  • 1/2 c. unsweetened applesauce
  • 1/2 c. nondairy milk (cashew, almond, etc.)
  • 1 tbsp butter, melted
  • 1 tsp vanilla

Directions:

  1. Preheat oven to 350°F. Grease an 8x8 baking dish and then line with parchment paper, this will help the paper stay in place. You could skip the parchment paper but it makes removing the brownies from the pan SO much easier and less messy.
  2. In a large mixing bowl, combine all dry ingredients and whisk together. Set aside. In a smaller mixing bowl, combine all wet ingredients, whisking together to combine. Add wet ingredients to dry and mix until well incorporated. Pour batter into prepare baking dish, ensuring to level out the top of the brownies.
  3. Place in oven and bake for 25-30 minutes or until a toothpick comes out clean after testing. 
  4. Remove brownies from oven and allow to cool in baking dish for about 15 minutes. Cut into 9 equal brownies.

Nutritional Information (1 brownie)

85 calories - 4 g Protein, 9 g Carbohydrates (4 g Fiber), 3.5 g Fat

Posted on October 14, 2016 and filed under Recipes, Protein Powder, Baking, Sweet Treats.

My Engineered Nutrition's Fall Favorites!

Fall has officially arrived! I don't know about you, but I love the changing of seasons. The changes in weather, wardrobe and most importantly...FOOD! There is something so wonderfully comforting about meals made during the Fall. If you are searching for new recipes to incorporate into your weekly meal planning, look no further - My Engineered Nutrition has got you covered!

Posted on September 23, 2016 and filed under Entertaining.

Chilaquiles (Breakfast Nachos!)

Chilaquiles | My Engineered Nutrition

Chilaquiles (tchee/lah/KEE/lehs) is a traditional Mexican dish that you may have never had...or even ever heard of. At least I had never heard of this dish until moving to California, at which point my tastebuds REJOICED over the amazing explosion of flavors in my mouth while eating (inhaling) this dish. Essentially, chilaquiles are breakfast nachos - but really, so much more than that. 

Chilaquiles | My Engineered Nutrition

My favorite part of eating nachos is finding those chips that are semi-buried in the pile. You know the ones I'm talking about, they are still crispy yet somewhat soggy from being baked with all that amazingness on top, and always have the perfect balance of toppings on it. Well basically chilaquiles is a plate full of the PERFECT nachos. For breakfast. I mean, what more could a girl want out of life?

I've tried my best to lighten this dish up as much as I could without losing the critical flavors and components of the dish except for one aspect - the light fried (gasp!) tortilla chips which make the base of this dish. These lightly fried tortillas are then smothered and simmers in chile verde salsa.

Chilaquiles | My Engineered Nutrition

After the base is complete, all that is left is to top these are topped with eggs, chorizo, black beans, red onion, queso fresco, guacamole and cilantro! Like I said previously, I tried to make this dish lighter than the traditional. I am using turkey chorizo instead of full fat pork chorizo, as well as substituting egg whites in place of full eggs.

Breakfast (er..more like brunch) is served!

Chilaquiles | My Engineered Nutrition

Chilaquiles

Servings: 4

Prep Time: 20 minutes

Ingredients:

  • 8 corn tortillas, cut into 6 triangles each
  • 2 cups salsa verde, I use HERDEZ
  • 1/4 cup vegetable oil (for frying, not all will be used)
  • 2 eggs
  • 2 egg whites
  • 1 tbsp butter
  • 8 oz turkey chorizo
  • 1 cup black beans, canned
  • 4 oz queso fresco, crumbled
  • 1/2 cup guacamole, recipe previously posted!

For garnish:

  • Red onion, chopped
  • Cilantro, chopped
  • Jalapeños 

Directions:

  1. Start by preparing the tortillas. Cut the tortillas into 6 equal pieces. In a large skillet, heat oil over medium high heat. Layer paper towels on cookie sheets or a large cutting board. Lightly fry the tortillas in batches - make sure you do not let the chips get too brown. This should take more more than a minute or so each side. We want the chips to be crispy, but not completely browned. Remove from oil and arrange in a single layer on paper towels so that excess oil can be drained. Continue frying remaining tortillas in batches. Once all chips are lightly fried, set the skillet and oil aside to cool.
  2. In a nonstick skillet cook the turkey chorizo. Transfer from pan to a small bowl, set aside and cover to keep warm.
  3. In a separate bowl scramble the eggs and egg whites together. Melt butter over medium high heat in same pan as used for the chorizo, pour in eggs. Scramble, set aside and cover to keep warm.
  4. Next, prepare the guacamole by following my recipe here.
  5. All that remains is to warm the beans in a small saucepan over medium heat, crumble the queso fresco and chop the onion, cilantro and jalapeños.
  6. Drain oil used for frying chips from skillet and pour salsa verde into skillet and bring to a low boil over medium high heat. Add tortillas and toss in salsa. Allow to cook for 2-3 minutes so that chips are completely smothered in salsa. 
  7. For plating: divide tortillas evenly among 4 plates (12 tortilla chips per plate) and top with any remaining salsa verde. Next, top the tortillas with the chorizo, eggs and black beans evenly among plates. Sprinkle queso fresco, red onions, cilantro and jalapeños and finish each plate off with a dollop of guacamole. Serve immediately while its hot!
Posted on September 11, 2016 and filed under Recipes, Breakfast.

Blueberry Lemon Protein Scones

Blueberry Lemon Protein Scones | My Engineered Nutrition

Breakfast pastries are usually synonymous with high fat and loads of sugar.

But dang it...don't they always look so enticing behind that glass case in the coffee shop?! Sometimes you just want that sweet treat with your cup of coffee - hold the 10 lbs of sugar.

Blueberry Lemon Protein Scones | My Engineered Nutrition

These Blueberry Lemon Protein Scones are the perfect alternative to feed your cravings for breakfast pastries! Bursting with lemon and fresh blueberries, I bet these will rival any scones you'll find in your local coffee shop.

Blueberry Lemon Protein Scone | My Engineered Nutrition

One of my absolute favorite flavors of protein powder recently has been the Lemon Cake Pea Protein from True Nutrition. I'd been trying to come up with a good recipe to use it in and these scones seemed like the perfect match. Plus, you can't go wrong with freshly zested lemons and juicy blueberries!

Blueberry Lemon Protein Scones | My Engineered Nutrition

Blueberry Lemon Protein Scones

Prep Time: 15 minutes

Bake Time: 17-20 minutes

Servings: 8 scones

Ingredients: 

  • 3/4 cup Lemon Cake Pea Protein (3 scoops) ** Any lemon flavored or vanilla flavored pea protein would work here as well!
  • 1-1/4 cup gluten free flour blend (I use Bob's 1-to-1)
  • 1/2 tsp baking soda
  • 1 tbsp baking powder
  • 1/2 tsp salt
  • 2 tbsp coconut palm sugar
  • 2 tbsp melt butter
  • 1/2 c Greek yogurt, nonfat 
  • 1/2 c + 2 tbsp non-dairy milk (cashew, almond, soy, etc)
  • 1 tsp vanilla
  • 2 tbsp lemon zest
  • 1 c fresh blueberries

Baking Accessories:

  • Baking Sheet
  • Parchment Paper 

Directions:

  1. Preheat oven to 400°F. Prepare baking sheet by lining with parchment paper. 
  2. In a mixing bowl combine your dry ingredients: pea protein, flour, salt, baking soda, baking powder and coconut palm sugar, whisking to combine.
  3. In a separate bowl combine all remaining ingredients, except for the blueberries. Stir to combine. Add wet ingredients to dry ingredients and mix until a dough is formed. Fold the blueberries into the dough gently, ensuring the blueberries are mixed evenly throughout.
  4. Form the dough into a round disk, about 10" in diameter, on your parchment paper lined baking sheet. Slice into 8 equal parts and separate slightly before baking. 
  5. Place in oven to bake for 17-20 minutes. Test the scones by inserting a toothpick into the center - they are baked completely when it comes out clean. Serve immediately or allow to cool completely and store in an air tight container for later.

Nutritional Information (1 scone):

175 calories - 12 g Protein, 24 g Carbohydrates, 3.5 g Fat


Posted on September 2, 2016 and filed under Recipes, Protein Powder, Baking, Breakfast.